I filled my freezer with silky homemade pumpkin puree and suddenly my pies, cookies, and muffins became the secret ingredient everyone asks about.
I am obsessed with the taste of real pumpkin, the kind that comes from sugar pumpkins and not those watery supermarket pumpkins. I love how a batch of bright, honest puree makes pies, cookies, and soups sing with deeper pumpkin flavor.
And there’s something electric about jars lined up like a promise for months of baking, savory dinners, and late-night spoonfuls. Not sentimental, just practical love for something that transforms every recipe into pure pumpkin presence.
I want my pantry to smell like autumn spiced intent, and I want that thick, vibrant puree ready when craving hits, no questions asked.
Ingredients
- Plus, sugar pumpkins bring sweet, smooth flesh and classic pumpkin flavor for pies and baking.
- Basically, water keeps it moist while you cook so puree stays silky, not dry.
- Plus, kosher salt perks up the pumpkin’s taste; optional, but it’ll make flavors pop.
Ingredient Quantities
- 8 to 10 pounds sugar or pie pumpkins (about 3 to 5 small sugar pumpkins, not the big jack o lantern ones)
- 1 to 2 cups water (for steaming or simmering the pumpkin as needed)
- 1/2 teaspoon kosher or canning salt per quart jar, optional
How to Make this
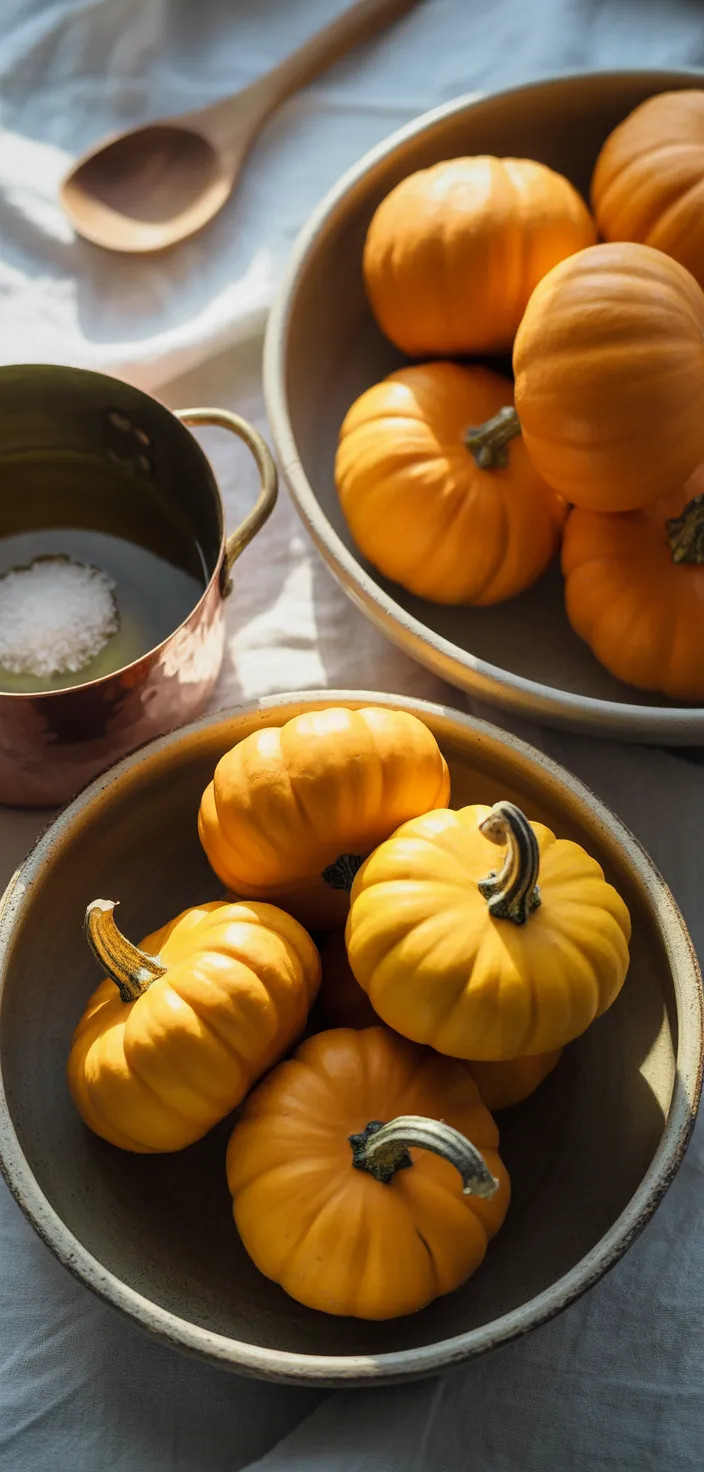
1. Wash the pumpkins, cut them in half, scoop out seeds and strings (save seeds if you want to roast them later), then cut the flesh into roughly 1 inch cubes so they cook evenly.
2. Place the cubes in a large pot with about 1 to 2 cups water, cover, and simmer or steam until the cubes are tender and easily pierced with a fork, about 15 to 25 minutes depending on size.
3. Drain the cooked pumpkin well in a colander or on a baking sheet so excess water runs off; you want it fairly dry before pureeing so it wont be too watery.
4. Puree the drained pumpkin in batches in a food processor or blender until smooth; don’t add extra water. If it looks too thick to move, add just a tablespoon at a time.
5. If you plan to can, USDA and food safety experts recommend canning pumpkin as hot-packed 1 inch cubes rather than a smooth puree because puree can prevent proper heat penetration. So set aside enough of your cooked cubes to hot-pack into jars if you want shelf stable pumpkin.
6. To hot-pack cubes: pack the hot pumpkin cubes into clean pint or quart jars leaving 1 inch headspace, pour boiling hot cooking liquid over the cubes to cover while keeping 1 inch headspace, remove air bubbles, wipe rims, add lids and rings.
7. Add 1/2 teaspoon kosher or canning salt per quart jar if you like; it is optional and used only for flavor, not safety.
8. Process jars in a pressure canner according to the National Center for Home Food Preservation guidelines: process pint jars 55 minutes and quart jars 90 minutes. Follow your pressure canner manufacturer’s instructions for pressure settings and any altitude adjustments before you start processing.
9. When processing time is done, let the canner cool and depressurize naturally, remove jars, place on a towel and let cool 12 to 24 hours; check seals, label and store in a cool dark place.
10. If you prefer puree for baking, freezing is safest: cool pureed pumpkin, pack into freezer-safe containers or bags leaving some headspace, label and freeze up to a year; thaw in the fridge before using.
Equipment Needed
1. Large heavy pot with lid
2. Sharp chef’s knife
3. Sturdy cutting board
4. Colander or fine mesh strainer
5. Large spoon or spatula for stirring and scooping
6. Blender or food processor
7. Canning jars with lids and rings plus a jar funnel
8. Pressure canner (follow manufacturer instructions)
9. Baking sheet or tray and clean kitchen towel for cooling jars
10. Measuring cup and small ladle for hot-packing liquids
FAQ
Canning Homemade Pumpkin Puree Recipe Substitutions and Variations
- Instead of sugar or pie pumpkins use butternut or kabocha squash — they puree smooth and taste a bit sweeter, just roast or steam the same way (but watch cook time, some are denser).
- Swap the 1 to 2 cups water for unsweetened apple juice for a touch of sweetness and depth, or use low sodium vegetable broth if you want a savory base.
- For 1/2 teaspoon kosher or canning salt per quart jar you can use fine sea salt at about 3/4 the amount, or plain table salt at about half the amount because it’s saltier by volume.
- If you can’t find small sugar pumpkins use a mix of leftover roasted pumpkin pieces from different varieties, or buy pre-cut pumpkin chunks from the store and adjust cooking until tender.
Pro Tips
1) Cook just until fork tender, not mushy. If the cubes get too soft they soak up water and the puree becomes watery, so check early and often, you can always cook a bit more but you cant undo overcooking.
2) Drain and let the pumpkin sit on a baking sheet or colander for 20 to 30 minutes after cooking. Pressing gently with a towel or spatula helps get rid of excess moisture, especially if you plan to freeze or use in baking.
3) If you plan to can, set aside hot-packed 1 inch cubes like the experts recommend. Puree jars heat unevenly and might not reach safe temps, so only can cubes for shelf stability, otherwise freeze the puree.
4) Label jars or bags with the date and volume, and cool jars undisturbed for 12 to 24 hours. Frozen pumpkin can keep up to a year but it tastes best within 6 months, so try to use older stuff first.
Canning Homemade Pumpkin Puree Recipe
My favorite Canning Homemade Pumpkin Puree Recipe
Equipment Needed:
1. Large heavy pot with lid
2. Sharp chef’s knife
3. Sturdy cutting board
4. Colander or fine mesh strainer
5. Large spoon or spatula for stirring and scooping
6. Blender or food processor
7. Canning jars with lids and rings plus a jar funnel
8. Pressure canner (follow manufacturer instructions)
9. Baking sheet or tray and clean kitchen towel for cooling jars
10. Measuring cup and small ladle for hot-packing liquids
Ingredients:
- 8 to 10 pounds sugar or pie pumpkins (about 3 to 5 small sugar pumpkins, not the big jack o lantern ones)
- 1 to 2 cups water (for steaming or simmering the pumpkin as needed)
- 1/2 teaspoon kosher or canning salt per quart jar, optional
Instructions:
1. Wash the pumpkins, cut them in half, scoop out seeds and strings (save seeds if you want to roast them later), then cut the flesh into roughly 1 inch cubes so they cook evenly.
2. Place the cubes in a large pot with about 1 to 2 cups water, cover, and simmer or steam until the cubes are tender and easily pierced with a fork, about 15 to 25 minutes depending on size.
3. Drain the cooked pumpkin well in a colander or on a baking sheet so excess water runs off; you want it fairly dry before pureeing so it wont be too watery.
4. Puree the drained pumpkin in batches in a food processor or blender until smooth; don’t add extra water. If it looks too thick to move, add just a tablespoon at a time.
5. If you plan to can, USDA and food safety experts recommend canning pumpkin as hot-packed 1 inch cubes rather than a smooth puree because puree can prevent proper heat penetration. So set aside enough of your cooked cubes to hot-pack into jars if you want shelf stable pumpkin.
6. To hot-pack cubes: pack the hot pumpkin cubes into clean pint or quart jars leaving 1 inch headspace, pour boiling hot cooking liquid over the cubes to cover while keeping 1 inch headspace, remove air bubbles, wipe rims, add lids and rings.
7. Add 1/2 teaspoon kosher or canning salt per quart jar if you like; it is optional and used only for flavor, not safety.
8. Process jars in a pressure canner according to the National Center for Home Food Preservation guidelines: process pint jars 55 minutes and quart jars 90 minutes. Follow your pressure canner manufacturer’s instructions for pressure settings and any altitude adjustments before you start processing.
9. When processing time is done, let the canner cool and depressurize naturally, remove jars, place on a towel and let cool 12 to 24 hours; check seals, label and store in a cool dark place.
10. If you prefer puree for baking, freezing is safest: cool pureed pumpkin, pack into freezer-safe containers or bags leaving some headspace, label and freeze up to a year; thaw in the fridge before using.