
I finally cracked the secret to fool-proof Crock Pot Yogurt that thickens perfectly every time and makes homemade yogurt ridiculously approachable.
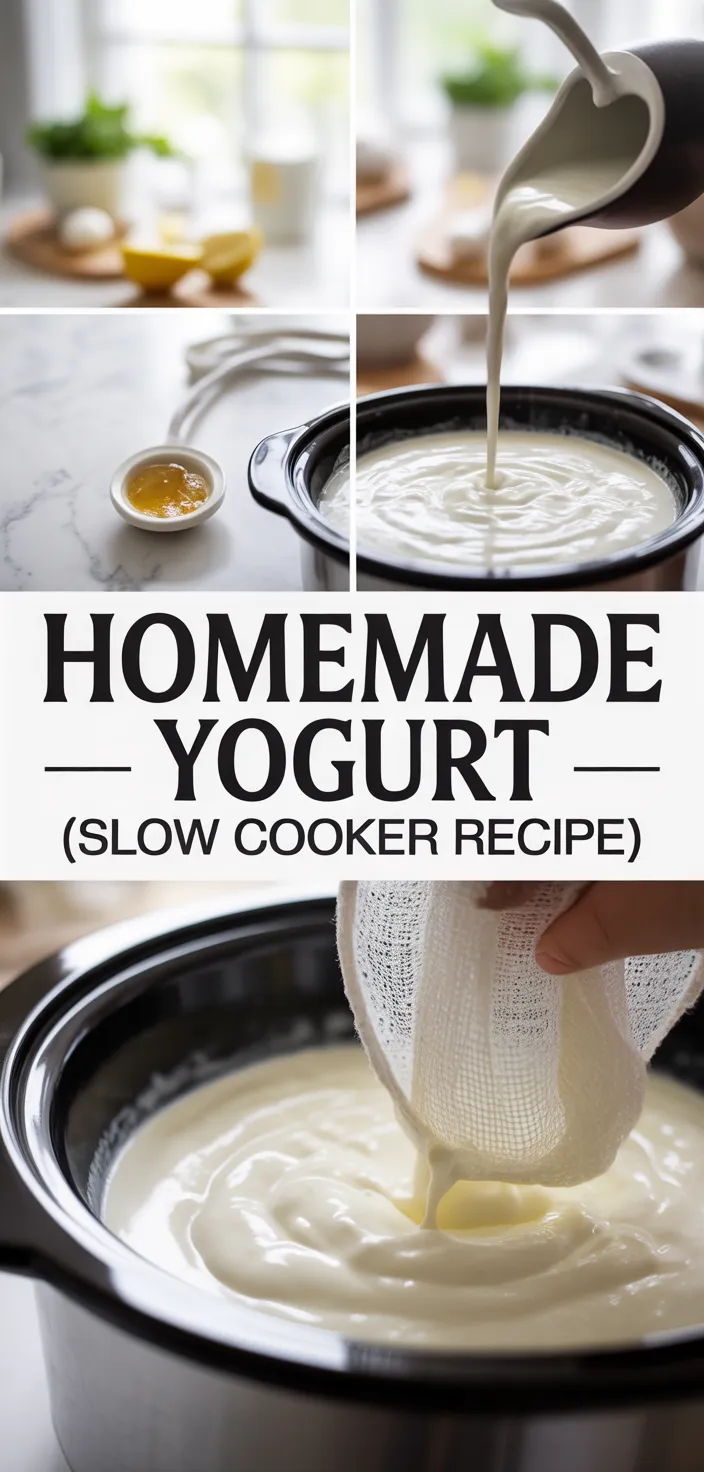
I never thought making yogurt could be this simple, but here I am, kind of amazed. Using whole milk and a bit of plain yogurt with active live cultures as my starter, I figured out a slow cooker way that turns out thick, tangy jars every time.
I tried a few of those Crock Pot Yogurt tricks and even skimmed through tons of Homemade Yogurt Recipes, and this version kept beating the rest, even when I rushed it. It’s one of those things that looks ordinary till you taste it, then you’re wondering why you waited so long to try.
Ingredients
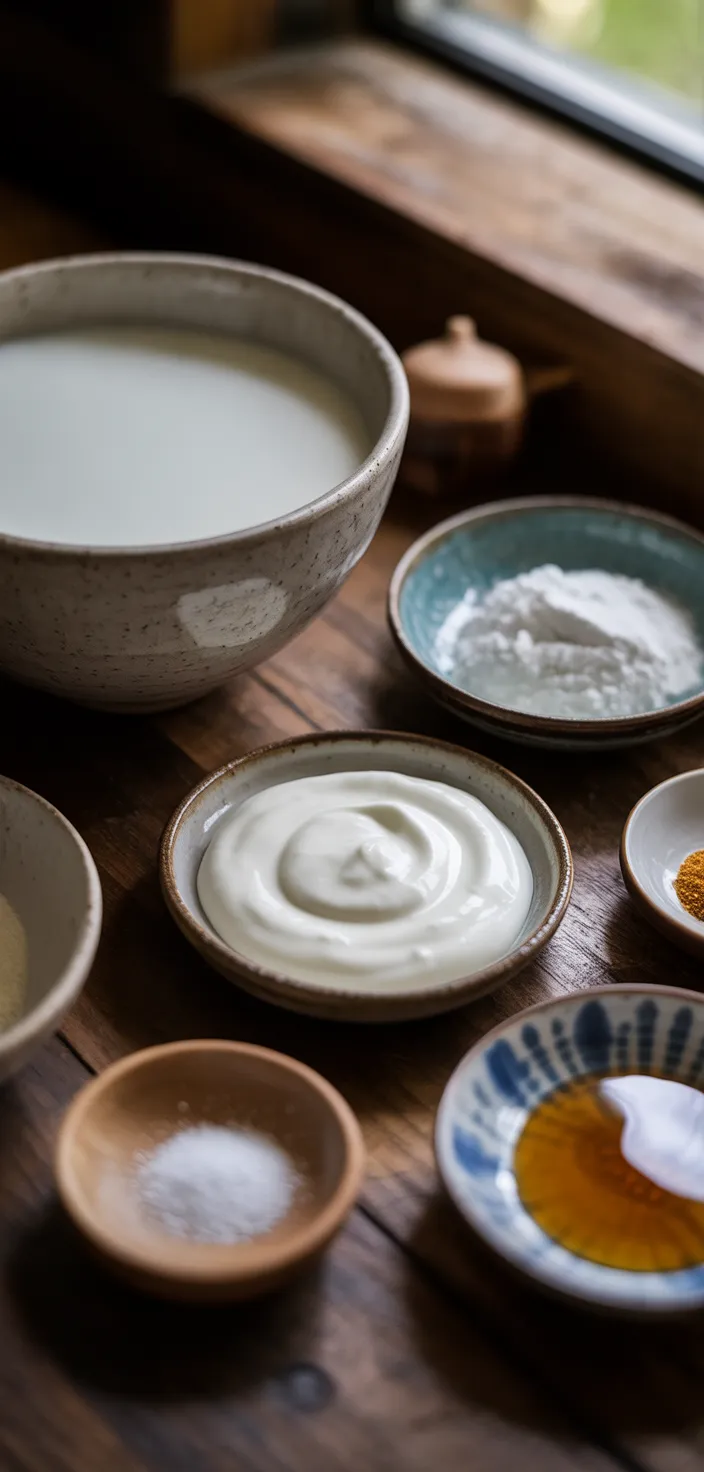
- Whole milk: Rich in protein and calcium, gives creaminess and body, makes yogurt fuller but less tangy.
- Plain yogurt starter: Provides live bacteria to ferment milk, adds tangy flavor and boosts gut-friendly probiotics.
- Powdered milk optional: Extra solids increase protein and thickness, helpful if you like spoonable Greek style texture.
- Heavy cream optional: Adds rich mouthfeel and fat, makes yogurt silkier and more dessert like.
- Sugar or honey optional: Sweetens the yogurt, feeds cultures a bit, use sparingly if watching sugar intake.
- Vanilla extract optional: Gives mild sweet aroma and flavor, masks some tang, feels like a treat.
- Pinch of salt optional: Enhances overall flavor, balances sweetness and tang, tiny amount goes a long way.
Ingredient Quantities
- 1/2 gallon (8 cups) whole milk
- 3 tablespoons plain yogurt with active live cultures (starter)
- 1/4 to 1/2 cup powdered milk optional for thicker yogurt
- 1/4 cup heavy cream optional for extra richness
- 1 to 2 teaspoons sugar or honey optional
- 1 teaspoon vanilla extract optional
- pinch of salt optional
How to Make this
1. If using powdered milk and/or heavy cream, whisk them into the 1/2 gallon (8 cups) whole milk in the slow cooker bowl so the powdered milk is fully dissolved, this will help make thicker, creamier yogurt.
2. Heat the milk to about 180°F (82°C) to change the proteins so it’ll set better, hold it there for 5 to 10 minutes. If your slow cooker won’t reliably get that hot, heat on the stovetop in a pot then return the milk to the slow cooker. Use an instant read thermometer, it’s worth it.
3. Turn off the heat and let the milk cool to 110 to 115°F (43 to 46°C). You can speed cooling with a cold water bath around the cooker or by removing the insert and setting it on a cooling rack, just don’t let it drop below 105°F.
4. While the milk cools, mix the 3 tablespoons plain yogurt starter with about 1/2 cup of the cooled milk in a small bowl until smooth, this avoids lumps and “shocks” the cultures.
5. When the milk is 110 to 115°F, gently whisk the starter mixture back into the big pot of milk. If you want sweet yogurt, add 1 to 2 teaspoons sugar or honey now, a pinch of salt also helps flavor, but vanilla is best added after incubation for brighter flavor.
6. Put the lid on and keep the slow cooker warm and steady at about 100 to 115°F for 6 to 12 hours depending on how tart you like it, 6 to 8 hours will be mild and creamy, longer makes it tangier. Wrap the slow cooker in towels or put it in an oven with just the light on to help keep heat steady, and don’t open the lid while it’s incubating.
7. At around 6 hours check for set by tilting the pot gently, don’t stir it though. If it still seems loose leave it to incubate longer. Avoid disturbing the curd too much or it will get grainy.
8. Once set, move the bowl to the fridge and chill with the lid on for at least 4 hours to fully firm up. This also improves texture and taste.
9. For Greek-style thicker yogurt, strain the chilled yogurt through cheesecloth or a fine mesh strainer over a bowl in the fridge for 2 to 4 hours until the desired thickness. Save the whey for smoothies, baking or feeding plants.
10. After chilling, stir in 1 teaspoon vanilla extract if you like, adjust sweetener and salt to taste. Reserve 2 to 3 tablespoons of this batch as starter for your next batch. Store yogurt in airtight containers in the fridge for up to 1 to 2 weeks.
Equipment Needed
1. Slow cooker with removable insert and lid (or a heavy pot if you need to heat on the stove)
2. Heavy-bottomed pot for stovetop heating if your slow cooker won’t hit 180°F
3. Instant-read thermometer, it’s worth it for accurate temps
4. Whisk for dissolving powdered milk and mixing in the starter
5. Small mixing bowl to bloom the yogurt starter with 1/2 cup milk
6. Measuring cups and spoons for milk, powdered milk, cream and sweetener
7. Ladle or heatproof measuring cup for transferring and pouring hot milk
8. Cheesecloth or fine mesh strainer plus a large bowl for Greek-style straining
9. Kitchen towels or an insulating blanket to wrap the cooker during incubation
10. Airtight containers and a spoon for chilling, storing and reserving starter
FAQ
Homemade Yogurt (Slow Cooker Recipe) Substitutions and Variations
- Whole milk: use 2% plus 1/4 cup heavy cream for similar richness; or use 3.25% (regular) milk if that’s what you have; for dairy free try unsweetened soy milk (best non-dairy texture) or full fat canned coconut milk for extra creaminess, but expect a coconut flavor.
- Plain yogurt with active cultures (starter): swap with 2 tbsp plain kefir with live cultures; or use 1 packet freeze dried yogurt starter or a commercial plain yogurt that lists live active cultures (Greek or regular) — just make sure it’s fresh.
- Powdered milk (to thicken): replace with 1/3 cup nonfat dry milk (same idea); or skip and strain finished yogurt in cheesecloth 2 to 4 hours for Greek-style thickness; or add 2 to 4 tbsp plain Greek yogurt into the mix to boost body.
- Heavy cream (for richness): use 1/2 cup half and half; or stir in 2 tbsp mascarpone or cream cheese after the yogurt sets for a richer mouthfeel; for a dairy free option use full fat coconut milk but watch for flavor changes.
Pro Tips
– Calibrate and trust your thermometer, not your gut. Drop it in boiling water then an ice bath to check it, and aim to hold incubation temp steady. If your slow cooker swings, insulate with towels or use the oven-light trick so the cultures don’t get stressed and make runny yogurt.
– Use a fresh, plain yogurt with live cultures for your starter, and rotate it every few batches by using a new store-bought cup. Old or weak starters give weak sets, so if the texture’s off after 2 batches, refresh your starter.
– If the curd looks grainy or a little broken, chill it undisturbed first, then either gently whisk or pulse with an immersion blender to smooth it. For thicker Greek-style results, strain cold yogurt in the fridge overnight rather than at room temp, you’ll keep more flavor and avoid bacterial growth.
– Flavor after incubation, not before, for brighter taste. Add vanilla, honey or salt only after chilling, and reserve 2 to 3 tablespoons of the finished batch as your next starter. Keep jars sealed and labeled with the date so you know how fresh your starter and yogurt are.
Homemade Yogurt (Slow Cooker Recipe)
My favorite Homemade Yogurt (Slow Cooker Recipe)
Equipment Needed:
1. Slow cooker with removable insert and lid (or a heavy pot if you need to heat on the stove)
2. Heavy-bottomed pot for stovetop heating if your slow cooker won’t hit 180°F
3. Instant-read thermometer, it’s worth it for accurate temps
4. Whisk for dissolving powdered milk and mixing in the starter
5. Small mixing bowl to bloom the yogurt starter with 1/2 cup milk
6. Measuring cups and spoons for milk, powdered milk, cream and sweetener
7. Ladle or heatproof measuring cup for transferring and pouring hot milk
8. Cheesecloth or fine mesh strainer plus a large bowl for Greek-style straining
9. Kitchen towels or an insulating blanket to wrap the cooker during incubation
10. Airtight containers and a spoon for chilling, storing and reserving starter
Ingredients:
- 1/2 gallon (8 cups) whole milk
- 3 tablespoons plain yogurt with active live cultures (starter)
- 1/4 to 1/2 cup powdered milk optional for thicker yogurt
- 1/4 cup heavy cream optional for extra richness
- 1 to 2 teaspoons sugar or honey optional
- 1 teaspoon vanilla extract optional
- pinch of salt optional
Instructions:
1. If using powdered milk and/or heavy cream, whisk them into the 1/2 gallon (8 cups) whole milk in the slow cooker bowl so the powdered milk is fully dissolved, this will help make thicker, creamier yogurt.
2. Heat the milk to about 180°F (82°C) to change the proteins so it’ll set better, hold it there for 5 to 10 minutes. If your slow cooker won’t reliably get that hot, heat on the stovetop in a pot then return the milk to the slow cooker. Use an instant read thermometer, it’s worth it.
3. Turn off the heat and let the milk cool to 110 to 115°F (43 to 46°C). You can speed cooling with a cold water bath around the cooker or by removing the insert and setting it on a cooling rack, just don’t let it drop below 105°F.
4. While the milk cools, mix the 3 tablespoons plain yogurt starter with about 1/2 cup of the cooled milk in a small bowl until smooth, this avoids lumps and “shocks” the cultures.
5. When the milk is 110 to 115°F, gently whisk the starter mixture back into the big pot of milk. If you want sweet yogurt, add 1 to 2 teaspoons sugar or honey now, a pinch of salt also helps flavor, but vanilla is best added after incubation for brighter flavor.
6. Put the lid on and keep the slow cooker warm and steady at about 100 to 115°F for 6 to 12 hours depending on how tart you like it, 6 to 8 hours will be mild and creamy, longer makes it tangier. Wrap the slow cooker in towels or put it in an oven with just the light on to help keep heat steady, and don’t open the lid while it’s incubating.
7. At around 6 hours check for set by tilting the pot gently, don’t stir it though. If it still seems loose leave it to incubate longer. Avoid disturbing the curd too much or it will get grainy.
8. Once set, move the bowl to the fridge and chill with the lid on for at least 4 hours to fully firm up. This also improves texture and taste.
9. For Greek-style thicker yogurt, strain the chilled yogurt through cheesecloth or a fine mesh strainer over a bowl in the fridge for 2 to 4 hours until the desired thickness. Save the whey for smoothies, baking or feeding plants.
10. After chilling, stir in 1 teaspoon vanilla extract if you like, adjust sweetener and salt to taste. Reserve 2 to 3 tablespoons of this batch as starter for your next batch. Store yogurt in airtight containers in the fridge for up to 1 to 2 weeks.