
I finally perfected a Lemon Jam that keeps a bright tart lemon punch without extra sweetness, and the nearly foolproof method behind it will have you curious to see how simple homemade marmalade can be.
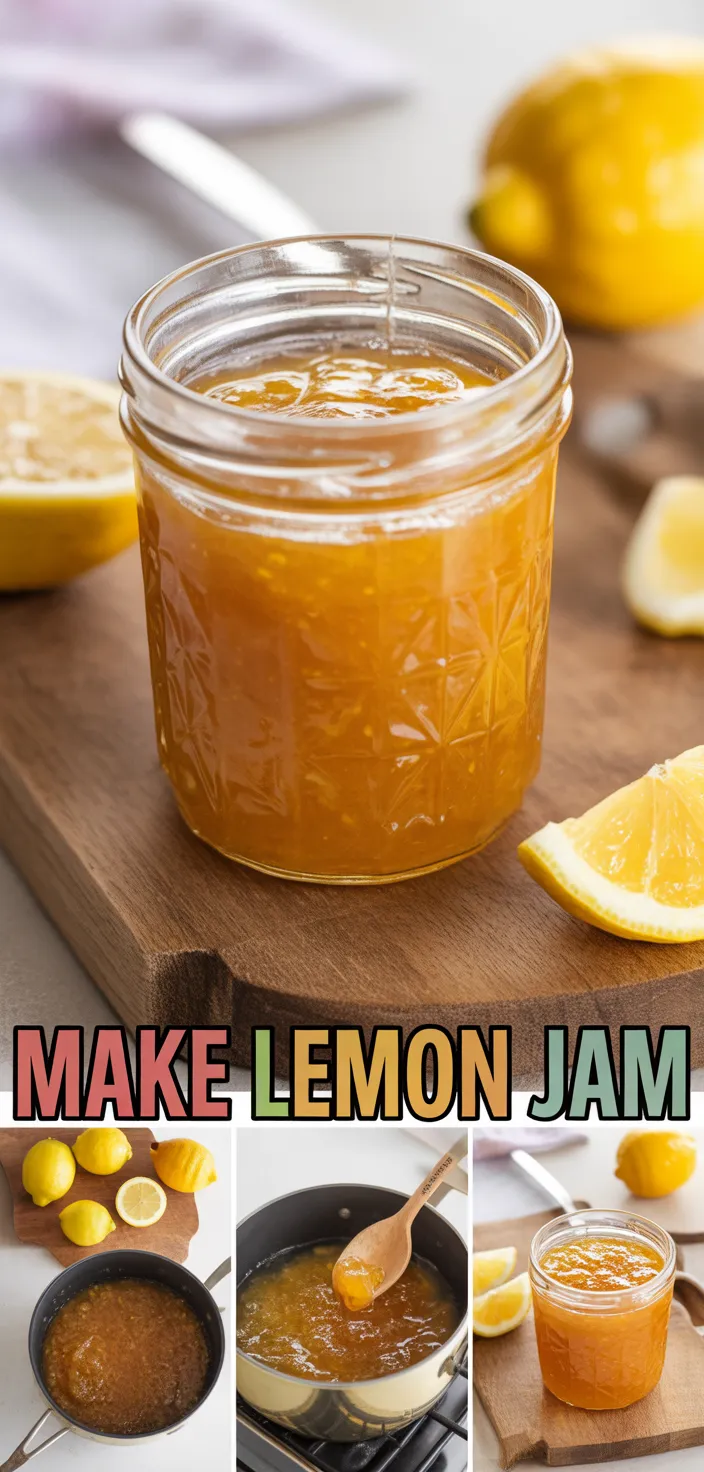
I never thought a jar could make me pause, but this one did. This jam isn’t too sweet and has the perfect amount of tart lemony flavor.
Even better, it’s basically fool proof and completely delicious. Using zested and juiced lemons with granulated sugar keeps the flavor clean and bright, nothing fancy needed.
It kinda reads like a Lemon Marmalade Recipe Simple or a straight up Lemon Jam, yet each spoonful tastes like a small surprise. I want you to try it, not because it’s perfect, but because it’s honest and a little addictive.
Ingredients
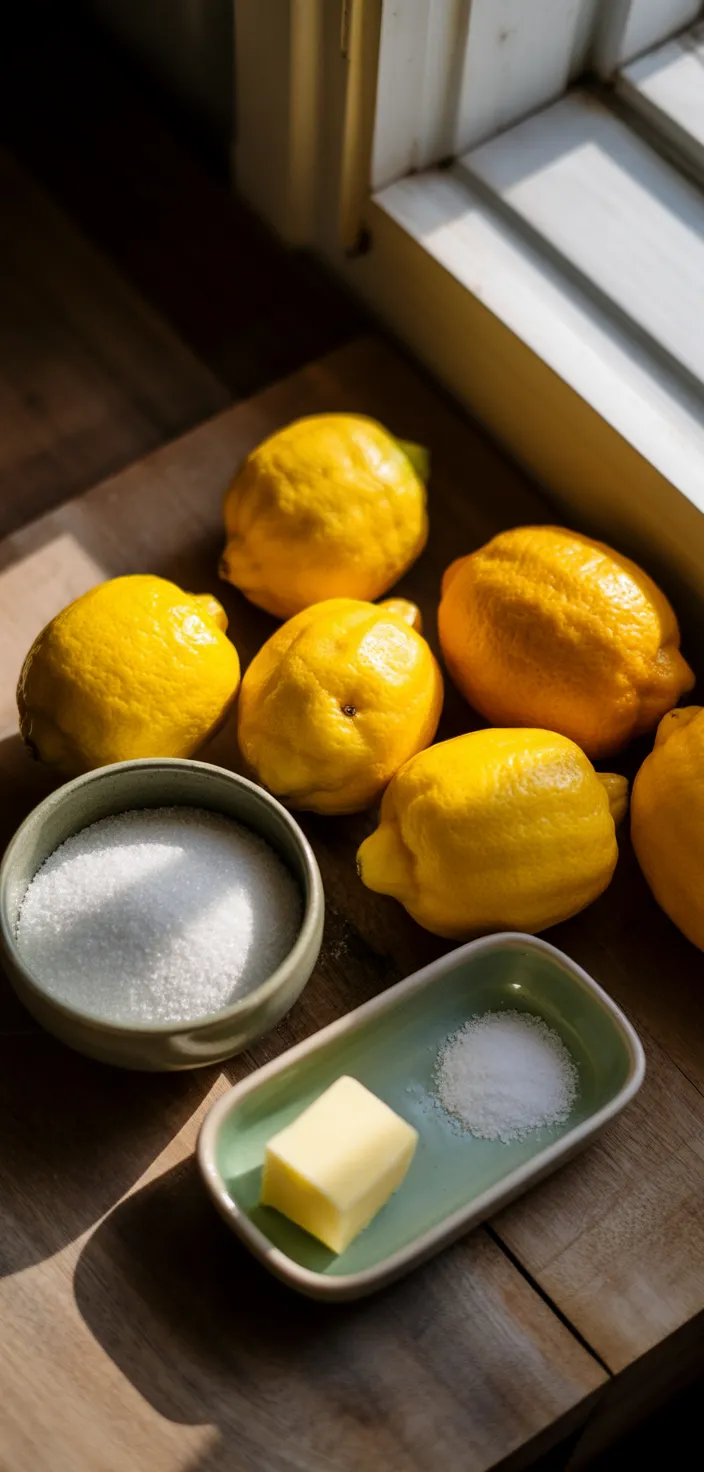
Make Your Own Simple Lemon Jam
- Lemon zest: bright citrus oils with fiber and aroma, makes jam pop with lively bitterness.
- Lemon juice: tart vitamin C rich juice, gives sour balance and natural acidity for set.
- Sugar: pure carbs that sweeten and preserve, add body but pack a lot of calories.
- Water: thins syrup and helps boil evenly, no nutrition but key for texture control.
- Butter: optional fat that smooths foam, adds silkiness and subtle richness to jam.
- Salt: a tiny pinch brightens flavors, balances sweet and sour so it is not cloying.
Ingredient Quantities
- 6 medium lemons (about 1 lb) zested and juiced, yields about 1 to 1 1/4 cups juice
- 2 cups granulated sugar
- 1/2 cup water
- 1 tbsp unsalted butter (optional)
- 1/8 tsp fine sea salt
How to Make this
1. Wash jars and lids and keep them hot in a pot of simmering water or in the hottest dishwasher cycle while you cook, so they do not crack when you fill them.
2. Wash the lemons well. Zest only the yellow skin with a microplane or fine grater, avoiding the white pith as much as you can. Then juice the lemons and strain out seeds; you should have about 1 to 1 1 4 cups juice.
3. In a medium heavy bottom saucepan combine the lemon zest, lemon juice, 2 cups sugar, 1 2 cup water, and 1 8 tsp salt. Stir over low heat until the sugar is mostly dissolved.
4. Turn the heat up to medium high and bring the mixture to a steady boil, stirring now and then so nothing sticks. Once boiling, reduce to a medium simmer.
5. Let it simmer, uncovered, stirring occasionally and skimming any foam that rises. Cook until the jam thickens and looks glossy, about 15 to 25 minutes depending on your stove.
6. To test for set put a small chilled saucer in the freezer before you start. Drop a teaspoon of jam on the cold saucer, wait 30 seconds, then push it with your finger. If it wrinkles and holds its shape it is ready. For a more exact test it should reach about 220 F on a candy thermometer.
7. Stir in 1 tablespoon unsalted butter right at the end if you want less foam and a shinier jam. Turn off the heat and let the jam sit a minute to settle.
8. Remove the hot jars from the simmering water, pour the hot jam into them leaving about 1 4th of an inch headspace, wipe rims clean, center lids and screw on rings until fingertip tight.
9. Process filled jars in a boiling water bath for 10 minutes to seal them, adjusting time for altitude if needed. If you prefer not to water bath, cool the jars and store them in the refrigerator and use within a few weeks.
10. Let sealed jars cool undisturbed for 12 to 24 hours, check seals, label and store in a cool dark place. If you want a smoother spread after cooking, blend briefly or strain out the zest before jarring.
Equipment Needed
1. Canning jars with lids and screw on rings (keep jars hot while you cook)
2. Large stockpot for the boiling water bath
3. Medium heavy bottom saucepan
4. Microplane or fine grater for zesting
5. Citrus juicer or reamer
6. Fine mesh strainer to catch seeds and pulp
7. Candy thermometer (for the 220 F test)
8. Ladle and a wide funnel for filling jars
9. Jar lifter or long tongs and a few kitchen towels
10. Wooden spoon or silicone spatula for stirring
FAQ
Make Your Own Simple Lemon Jam Recipe Substitutions and Variations
- Lemons: Use Meyer lemons for a sweeter, floral jam, use the same amount of zest but taste the juice and maybe use about 3/4 as much because they’re milder; or use bottled lemon juice in a pinch, add 1 to 2 teaspoons grated zest to bring back fresh lemon flavor.
- Granulated sugar: Swap for honey or maple syrup at about 3/4 cup liquid sweetener per 1 cup sugar, reduce the added water slightly and cook a little longer since liquid sweeteners make a looser set; coconut sugar works 1 to 1 but gives a deeper color and caramel note.
- Water: Replace with brewed chamomile or green tea for a subtle floral or vegetal note, or use extra lemon juice for more tartness but expect a brighter, slightly thinner jam.
- Unsalted butter (optional): Leave it out if you prefer, or use a teaspoon of neutral oil (light olive or vegetable) to reduce foaming while cooking, or a small knob of ghee for a richer taste.
Pro Tips
1) Roll each lemon on the counter with the palm of your hand before you squeeze it, and if you really want more juice pop them in the microwave for about ten seconds first, it loosens the membranes and you get more juice, trust me it helps.
2) Only grate the bright yellow zest, not the white stuff, cause that makes the jam bitter. If any pith sneaks in pick it out with the tip of a knife, and if you want a super smooth spread pulse the cooked jam briefly with an immersion blender while it is still hot but be careful of splatters.
3) To cut down on foam and make the jam shinier stir in that tablespoon of butter at the very end or even a teaspoon of neutral oil, it calms the bubbles right away. You can also skim foam with a large metal spoon while it simmers, it works fine.
4) For a reliable set use the cold saucer test or a candy thermometer to hit about 220 F, but dont overcook it cause lemon gets bitter fast. And when filling jars work quickly with a funnel so the jam stays hot, wipe the rims clean before you seal and let them cool undisturbed so seals form properly.
Make Your Own Simple Lemon Jam Recipe
My favorite Make Your Own Simple Lemon Jam Recipe
Equipment Needed:
1. Canning jars with lids and screw on rings (keep jars hot while you cook)
2. Large stockpot for the boiling water bath
3. Medium heavy bottom saucepan
4. Microplane or fine grater for zesting
5. Citrus juicer or reamer
6. Fine mesh strainer to catch seeds and pulp
7. Candy thermometer (for the 220 F test)
8. Ladle and a wide funnel for filling jars
9. Jar lifter or long tongs and a few kitchen towels
10. Wooden spoon or silicone spatula for stirring
Ingredients:
- 6 medium lemons (about 1 lb) zested and juiced, yields about 1 to 1 1/4 cups juice
- 2 cups granulated sugar
- 1/2 cup water
- 1 tbsp unsalted butter (optional)
- 1/8 tsp fine sea salt
Instructions:
1. Wash jars and lids and keep them hot in a pot of simmering water or in the hottest dishwasher cycle while you cook, so they do not crack when you fill them.
2. Wash the lemons well. Zest only the yellow skin with a microplane or fine grater, avoiding the white pith as much as you can. Then juice the lemons and strain out seeds; you should have about 1 to 1 1 4 cups juice.
3. In a medium heavy bottom saucepan combine the lemon zest, lemon juice, 2 cups sugar, 1 2 cup water, and 1 8 tsp salt. Stir over low heat until the sugar is mostly dissolved.
4. Turn the heat up to medium high and bring the mixture to a steady boil, stirring now and then so nothing sticks. Once boiling, reduce to a medium simmer.
5. Let it simmer, uncovered, stirring occasionally and skimming any foam that rises. Cook until the jam thickens and looks glossy, about 15 to 25 minutes depending on your stove.
6. To test for set put a small chilled saucer in the freezer before you start. Drop a teaspoon of jam on the cold saucer, wait 30 seconds, then push it with your finger. If it wrinkles and holds its shape it is ready. For a more exact test it should reach about 220 F on a candy thermometer.
7. Stir in 1 tablespoon unsalted butter right at the end if you want less foam and a shinier jam. Turn off the heat and let the jam sit a minute to settle.
8. Remove the hot jars from the simmering water, pour the hot jam into them leaving about 1 4th of an inch headspace, wipe rims clean, center lids and screw on rings until fingertip tight.
9. Process filled jars in a boiling water bath for 10 minutes to seal them, adjusting time for altitude if needed. If you prefer not to water bath, cool the jars and store them in the refrigerator and use within a few weeks.
10. Let sealed jars cool undisturbed for 12 to 24 hours, check seals, label and store in a cool dark place. If you want a smoother spread after cooking, blend briefly or strain out the zest before jarring.