I’m sharing my Easy Sourdough Bread Recipe that makes baking a traditional boule in a Dutch oven surprisingly approachable for beginners.
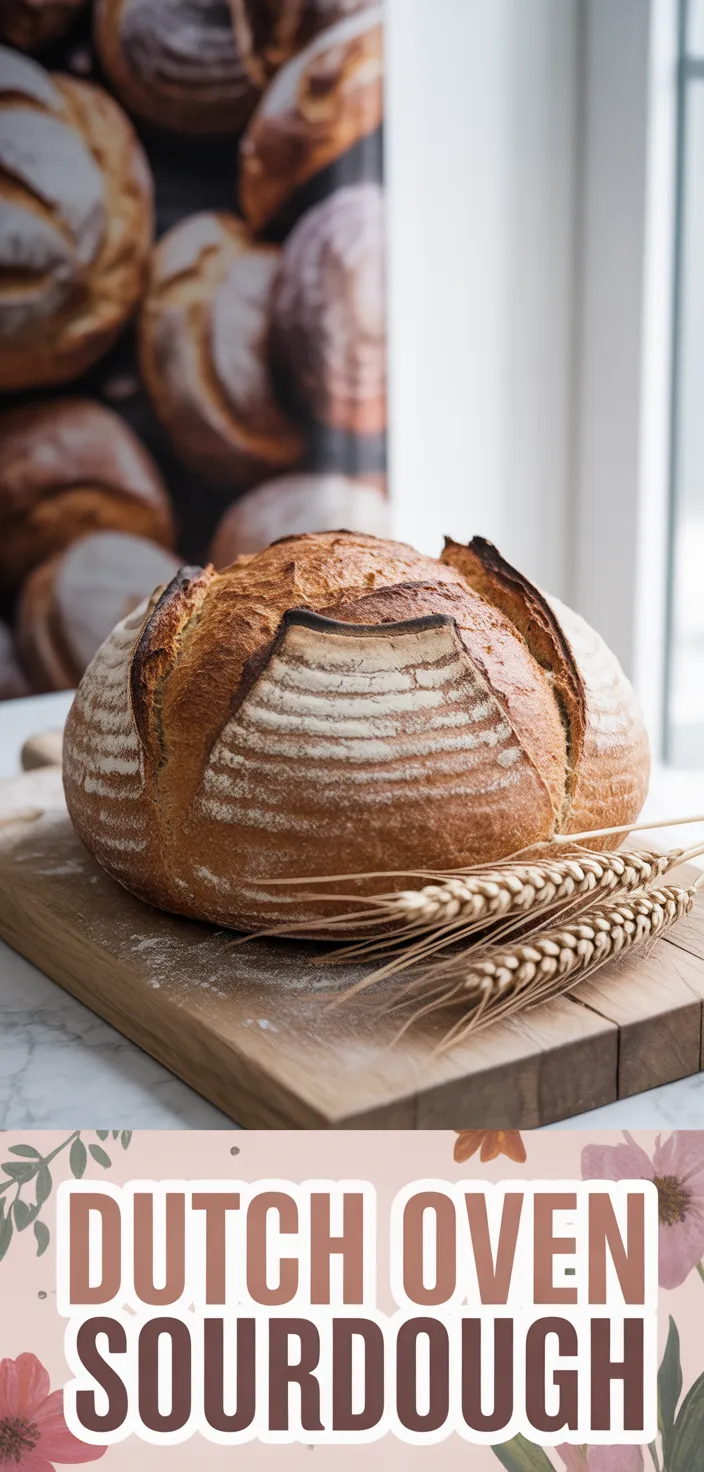
I never thought a Dutch Oven Sourdough Bread Recipe could feel like a small kitchen magic trick, but there it is. Using bread flour and an active sourdough starter, I walk through a method that looks fancy but its actually forgiving.
You’ll get a blistered crust and an airy crumb if you let time do the heavy lifting, and no baker’s degree required. I mess things up sometimes, overproofed or underfloured, but those flops taught me quick fixes that make a rescue possible.
Read on if you want a boule that smells like yeast and surprise, not a showy loaf.
Ingredients
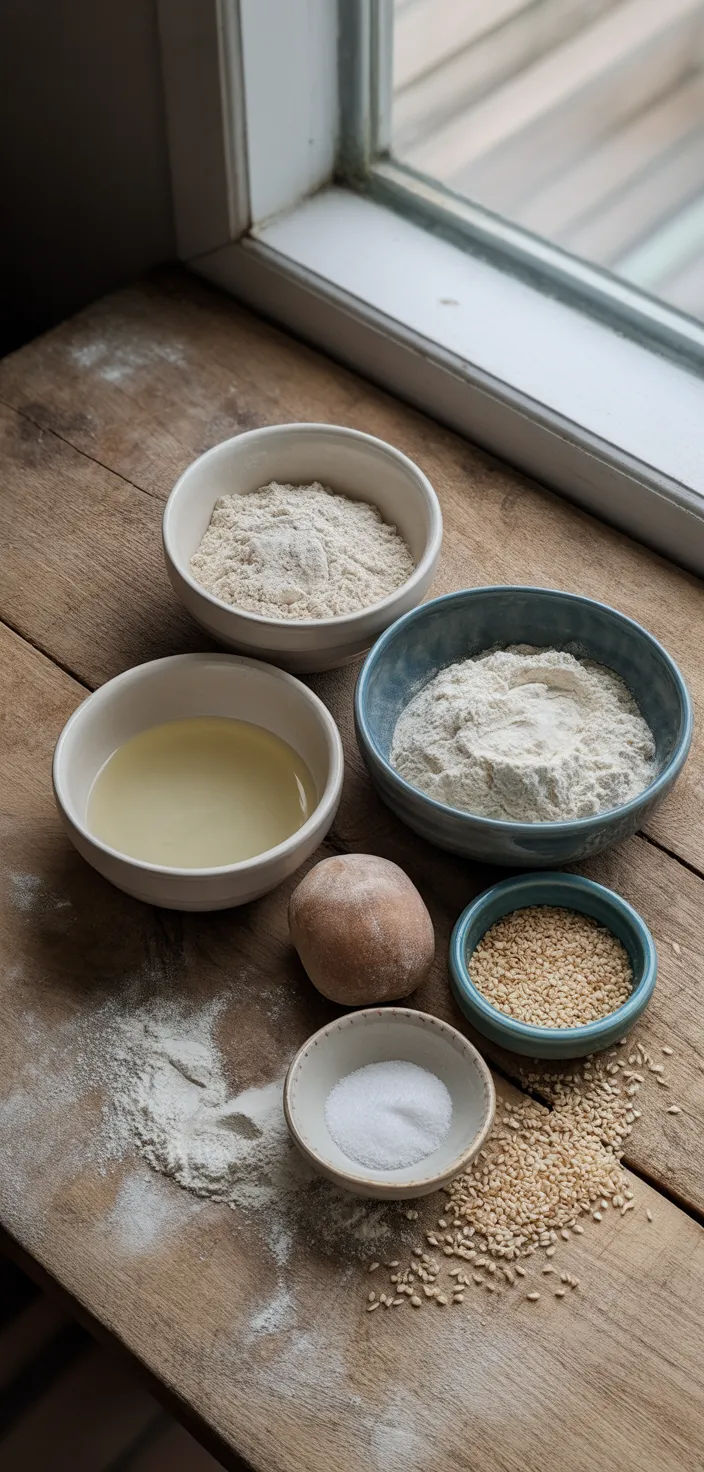
Dutch Oven Sourdough Bread Recipe
- Bread flour: High in gluten and carbs it builds structure and chew, modest protein, not sweet.
- Water: Hydrates flour, activates enzymes and yeast, helps gluten form, makes dough feel sticky.
- Sourdough starter: Wild yeast and bacteria produce lactic tang, slow fermentation adds flavor and better digestion.
- Salt: Helps control fermentation and yeast activity, tightens gluten, boosts taste, dont overdo it.
- Seeds or toppings optional: Add crunch and nutty flavor, extra healthy fats fiber and protein, looks homey.
- Extra flour for dusting: Used for dusting and shaping, helps handling, prevents sticking, adds negligible carbs.
- Rice flour or coarse cornmeal for banneton: Gives nonstick surface and a rustic bottom crust, mostly texture not much nutrition.
Ingredient Quantities
- 500 g bread flour
- 375 g water (about 75% hydration)
- 100 g active sourdough starter (100% hydration)
- 10 g fine sea salt
- Extra flour for dusting and shaping, about 1 to 2 tbsp
- Rice flour or coarse cornmeal for dusting the banneton, a few tbsp
- Optional: 1 to 2 tbsp seeds or toppings (sesame, sunflower, oat flakes)
How to Make this
1. Make sure your starter is active and bubbly, about 100 g ready to go. In a big bowl mix 500 g bread flour with 375 g water until no dry flour remains, cover and let sit 30 to 45 minutes for an autolyse.
2. Add 100 g active starter and 10 g fine sea salt to the dough, mix until incorporated. You can use a spatula or your hands, it will be shaggy at first, keep working until it comes together.
3. Do stretch and folds during the first part of bulk fermentation: every 30 minutes for 2 hours lift one side of the dough and fold it over, rotate the bowl and repeat 4 times each session. After the folds let the dough rest covered until it is puffy and shows bubbles, about another 1 to 2 hours depending on room temp.
4. Turn the dough onto a lightly floured surface using 1 to 2 tbsp extra flour if needed, gently pre shape into a loose round, let rest uncovered for 15 to 30 minutes to relax.
5. Final shape the loaf into a tight boule by cupping and pulling the dough toward you on the counter to build surface tension. Dust your banneton with a few tbsp rice flour or coarse cornmeal so it wont stick, then place the dough seam side up in the banneton. Sprinkle any optional seeds or toppings on top if you want.
6. Proof the dough until puffy. You can either proof at room temperature 2 to 4 hours until noticeably risen, or refrigerate overnight 8 to 18 hours for better flavor and easier scoring.
7. When ready to bake, place your Dutch oven with lid in the oven and preheat to 500 F for at least 30 minutes so it is screaming hot. When you take the dough out, gently invert it onto a piece of parchment, score the top with a sharp blade to control how it opens.
8. Transfer the loaf on the parchment into the hot Dutch oven, cover and reduce oven to 450 F. Bake covered 20 minutes to trap steam and get oven spring.
9. Remove the lid and bake another 20 to 30 minutes until the crust is deep golden brown and the internal temperature reads about 200 to 210 F if you have a thermometer. If not, tap the bottom and it should sound hollow.
10. Cool the loaf on a rack at least 1 hour before slicing. This finishes the crumb and makes slicing easier, but hey if you cant resist a warm slice with butter you wont be the first.
Equipment Needed
1. Kitchen scale (accurate to grams), you really need this for the 500 g/375 g measurements
2. Large mixing bowl, big enough for autolyse and stretch-and-folds
3. Spatula and dough scraper (or just your hands), for mixing and working the shaggy dough
4. Bench scraper, great for turning, pre-shaping and cleaning the counter
5. Banneton or proofing basket (or a bowl lined with a well floured towel), dust with rice flour or cornmeal so it wont stick
6. Dutch oven with lid (6 to 8 qt), to trap steam and get that oven spring
7. Parchment paper and a sharp lame, razor or serrated knife for scoring the loaf
8. Oven mitts and a cooling rack, plus an instant read thermometer if you have one (helps check the 200–210 F internal temp)
FAQ
Dutch Oven Sourdough Bread Recipe Substitutions and Variations
- Bread flour substitute: use all purpose flour plus vital wheat gluten, 500 g AP plus 10 to 15 g gluten gives similar strength, if you dont have gluten, replace up to 30 percent of the flour with whole wheat but expect a denser crumb.
- Water substitute: swap up to half the water for whole milk or buttermilk for a richer, softer loaf, just reduce total liquid by about 5 to 10 percent because milk adds solids and can make the dough heavier.
- Active sourdough starter substitute: no starter, use instant yeast or a quick preferment, for a direct swap add about 1 tsp instant yeast 3 g to the dough and shorten bulk ferment, or make a poolish with 100 g flour 100 g water and a tiny pinch of yeast left overnight.
- Rice flour or coarse cornmeal for banneton dusting: use semolina, fine cornmeal, or wheat bran or even old fashioned oats for a rustic look, semolina gives a nice crunchy bottom and oats give a softer dusting.
Pro Tips
– Make sure your starter is really active, dont just eyeball it. Feed it so it doubles in 4 to 6 hours, do the float test, and if your kitchen is cool use slightly warmer water or give it a longer bulk ferment. If the dough feels tight after your scheduled folds, do another round or two, it means the gluten needs more time to relax.
– Autolyse is your friend, but be flexible. If your flour is thirsty or the dough seems dry, add an extra 10 to 20 minutes before adding starter and salt. If it feels too slack after autolyse, shorten the rest time, otherwise youll lose strength.
– For stretch and folds keep your hands wet so the dough doesnt stick, lift gently and fold firmly, rotate the bowl each time. When shaping, build surface tension by dragging the dough toward you with short quick pulls, dont mash it down, and rest it 15 to 30 minutes before final shaping so it relaxes and holds shape better.
– Hot Dutch oven and confident scoring make the difference. Preheat longer if your oven runs cool, score with a sharp blade at a shallow angle for a nice ear, and open the lid after 20 minutes to let the crust color up. If you want a slightly softer crust, brush the loaf with melted butter right after baking, but let it cool at least an hour before slicing so the crumb sets.
Dutch Oven Sourdough Bread Recipe
My favorite Dutch Oven Sourdough Bread Recipe
Equipment Needed:
1. Kitchen scale (accurate to grams), you really need this for the 500 g/375 g measurements
2. Large mixing bowl, big enough for autolyse and stretch-and-folds
3. Spatula and dough scraper (or just your hands), for mixing and working the shaggy dough
4. Bench scraper, great for turning, pre-shaping and cleaning the counter
5. Banneton or proofing basket (or a bowl lined with a well floured towel), dust with rice flour or cornmeal so it wont stick
6. Dutch oven with lid (6 to 8 qt), to trap steam and get that oven spring
7. Parchment paper and a sharp lame, razor or serrated knife for scoring the loaf
8. Oven mitts and a cooling rack, plus an instant read thermometer if you have one (helps check the 200–210 F internal temp)
Ingredients:
- 500 g bread flour
- 375 g water (about 75% hydration)
- 100 g active sourdough starter (100% hydration)
- 10 g fine sea salt
- Extra flour for dusting and shaping, about 1 to 2 tbsp
- Rice flour or coarse cornmeal for dusting the banneton, a few tbsp
- Optional: 1 to 2 tbsp seeds or toppings (sesame, sunflower, oat flakes)
Instructions:
1. Make sure your starter is active and bubbly, about 100 g ready to go. In a big bowl mix 500 g bread flour with 375 g water until no dry flour remains, cover and let sit 30 to 45 minutes for an autolyse.
2. Add 100 g active starter and 10 g fine sea salt to the dough, mix until incorporated. You can use a spatula or your hands, it will be shaggy at first, keep working until it comes together.
3. Do stretch and folds during the first part of bulk fermentation: every 30 minutes for 2 hours lift one side of the dough and fold it over, rotate the bowl and repeat 4 times each session. After the folds let the dough rest covered until it is puffy and shows bubbles, about another 1 to 2 hours depending on room temp.
4. Turn the dough onto a lightly floured surface using 1 to 2 tbsp extra flour if needed, gently pre shape into a loose round, let rest uncovered for 15 to 30 minutes to relax.
5. Final shape the loaf into a tight boule by cupping and pulling the dough toward you on the counter to build surface tension. Dust your banneton with a few tbsp rice flour or coarse cornmeal so it wont stick, then place the dough seam side up in the banneton. Sprinkle any optional seeds or toppings on top if you want.
6. Proof the dough until puffy. You can either proof at room temperature 2 to 4 hours until noticeably risen, or refrigerate overnight 8 to 18 hours for better flavor and easier scoring.
7. When ready to bake, place your Dutch oven with lid in the oven and preheat to 500 F for at least 30 minutes so it is screaming hot. When you take the dough out, gently invert it onto a piece of parchment, score the top with a sharp blade to control how it opens.
8. Transfer the loaf on the parchment into the hot Dutch oven, cover and reduce oven to 450 F. Bake covered 20 minutes to trap steam and get oven spring.
9. Remove the lid and bake another 20 to 30 minutes until the crust is deep golden brown and the internal temperature reads about 200 to 210 F if you have a thermometer. If not, tap the bottom and it should sound hollow.
10. Cool the loaf on a rack at least 1 hour before slicing. This finishes the crumb and makes slicing easier, but hey if you cant resist a warm slice with butter you wont be the first.