
I absolutely love this recipe because making preserved lemons feels like a little bit of kitchen alchemy, turning simple lemons into a jar of vibrant, citrusy magic that can elevate any dish. Plus, it’s a super satisfying way to add a zesty, gourmet touch to anything from salads to tagines, and I’m all about those easy flavor upgrades!
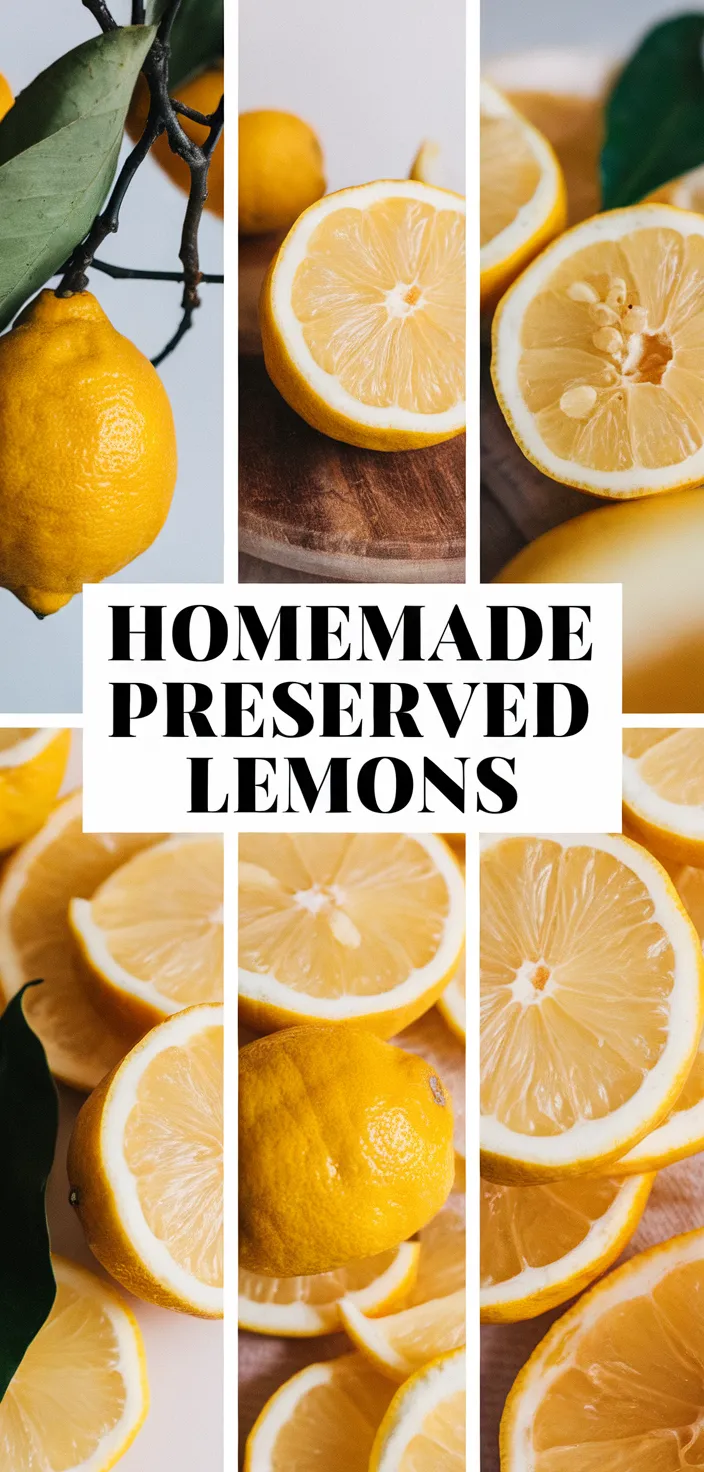
The flavor that preserved lemons bring to dishes is something that can’t be replaced. They are surprisingly simple to make.
All you need are 5-6 organic lemons, 1/4 cup kosher salt (that’s the basic ratio; if you don’t have ’em, you can use a medium to coarse grind of other salts, like sea salt, that aren’t too fine), and a couple of clean jars (wide-mouth are best). Since you control the salt, you can make them to your taste.
Ingredients
Lemons, which are rich in vitamin C, contribute a lively and zesty taste.
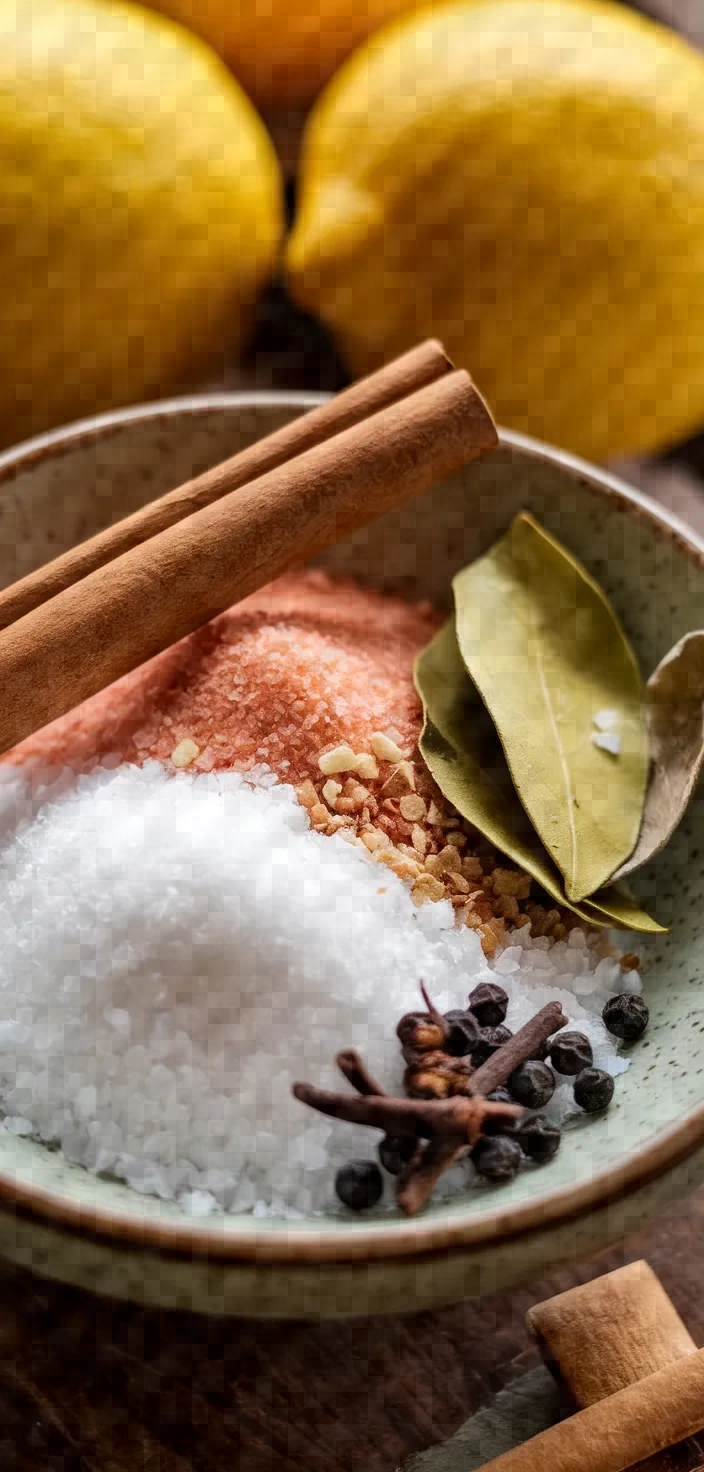
Kosher salt preserves lemons, boosts their flavor, and extends their shelf life.
Juice of Lemon: Heightens the taste of citrus, guaranteeing preservation of juiciness.
Cinnamon Stick: Warm and sweet, it adds depth to the lemons.
Laurel Leaves: Earthy undertones that subtly enrich the preserved blend.
Whole Cloves: Impart a spicy and slightly sweet undertone to the brine.
Black Peppercorns: Contributes a touch of warmth and a wealth of flavor compounds.
Ingredient Quantities
- 5 to 6 organic lemons
- 1/4 cup kosher salt
- Additional fresh lemon juice (if needed)
- Optional: 1 cinnamon stick
- Optional: 2 to 3 bay leaves
- Optional: 3 to 4 whole cloves
- Optional: 5 to 6 whole black peppercorns
Instructions
1. Start by washing and scrubbing the lemons very well under cold water. This will ensure that all grime and grit is removed, particularly since the peels will be eaten.
2. Remove the ends off both sides of each lemon. Stand the lemon on one end, and make a deep vertical cut three-quarters of the way down, but not cutting all the way through. Turn the lemon a quarter turn and make another cut to the same depth, again not cutting all the way through, so that when you finish this next cut, the lemon will be in quarters but still connected at the base.
3. Cut the lemons and add a good serving of kosher salt inside and on the outside of the lemon. Depending on how many lemons you use, you’ll want to work with about 1 tablespoon of salt for each lemon.
4. Put the lemon in a clean glass jar, pushing it down to get some juice to come out. Do the same with the other lemons, adding them to the jar and pushing them down to get them to release juice and make room for the rest of the lemons, which you’ve not yet pushed down.
5. Between the layers of lemons, you may add optional spices to enhance the flavor. Good choices are a stick of cinnamon, some bay leaves, or whole cloves and black peppercorns.
6. Press the lemons down to get them to release their juice. If the juice you get from the lemons doesn’t completely cover the lemons, then add more fresh lemon juice until they are completely covered.
7. Tighten the lid on the jar and place it at room temperature for a few days. A sunny spot will work best to help soften the peels. Invert the jar a couple of times each day to distribute the salt and juices.
8. The jar can be placed in the refrigerator after a few days have elapsed. For the next 3 to 4 weeks, allow the cabreada to ferment in the refrigerator, shaking it occasionally during that time.
9. When the peels become soft and flexible, the preserved lemons are ready for use. Rind and pulp find their way into many recipes, while the brine, salty and flavorful, is a dressing or marinade waiting to happen.
10. Rinsing the lemons under running water will eliminate most of the salt. It is best to remove the seeds and pulp before using the lemon, but if you want to add some extra texture to your cooking, go ahead and leave it in. For a really bright flavor, though, you can’t beat lemon rind. Chop it finely and stir it into whatever you’re working on for a jolt of citrus goodness.
Equipment Needed
1. Kitchen sink or bowl (for washing lemons)
2. Cutting board
3. Sharp knife
4. Tablespoon (for measuring salt)
5. Clean glass jar with a lid
6. Citrus juicer (optional, for additional fresh lemon juice)
FAQ
- Q: Can I use regular lemons instead of organic ones?Yes, but to prevent any pesticide residue from being on the peel, organic lemons are favored.
- Q: How long do preserved lemons last?Once kept in a preserved state, the items can remain viable for up to a year when they are kept in a chilled atmosphere, such as a refrigerator.
- Q: Do I need to sterilize the jar?Q: Does making the jar bacteria-free have any effect on the lemons?
- Q: What can I do with the leftover lemon juice?A: Employ it in dressings, marinades, or freeze it in an ice cube tray for later application.
- Q: Are the optional spices necessary?A: They are entirely optional but add depth and complexity to the flavor.
- Q: Does the salt amount vary with the size of the lemons?The measurement of salt is flexible; just make sure each lemon is liberally salted.
Substitutions and Variations
You can use sea salt in equal measure instead of kosher salt.
If fresh lemon juice is not available, lime juice can substitute but will provide a slightly different flavor profile.
Use 1/2 teaspoon ground cinnamon to replace the cinnamon stick.
You can use rosemary sprigs instead of bay leaves if you’re looking for a different aromatic profile.
Pro Tips
1. Curing Process Ensure that the lemons are packed tightly in the jar. This helps them release juice more effectively and ensures they are submerged, which is crucial for proper preservation and fermentation.
2. Fermentation Environment If possible, use a glass jar with a wide mouth for easy packing and extraction. The jar should be sterilized to prevent any contamination that might spoil the preservation process.
3. Flavor Variations Experiment with different spices. While cinnamon, bay leaves, cloves, and peppercorns are provided as options, you could also try adding a small piece of fresh ginger, cardamom pods, or a dried chili for unique flavor twists.
4. Ripeness of Lemons Choose ripe but firm organic lemons, as they will provide more juice and flavor. If organic lemons aren’t available, make sure to scrub non-organic lemons thoroughly to remove any wax or pesticide residues.
5. Monitoring Fermentation During the initial days at room temperature, if you notice any white film on top, don’t worry—it’s harmless and can be rinsed off. Ensure to invert the jar daily to keep everything mixed and to monitor for any signs of spoilage, such as a foul odor, which would mean starting over with a new batch.

Homemade Preserved Lemons Recipe
My favorite Homemade Preserved Lemons Recipe
Equipment Needed:
1. Kitchen sink or bowl (for washing lemons)
2. Cutting board
3. Sharp knife
4. Tablespoon (for measuring salt)
5. Clean glass jar with a lid
6. Citrus juicer (optional, for additional fresh lemon juice)
Ingredients:
- 5 to 6 organic lemons
- 1/4 cup kosher salt
- Additional fresh lemon juice (if needed)
- Optional: 1 cinnamon stick
- Optional: 2 to 3 bay leaves
- Optional: 3 to 4 whole cloves
- Optional: 5 to 6 whole black peppercorns
Instructions:
1. Start by washing and scrubbing the lemons very well under cold water. This will ensure that all grime and grit is removed, particularly since the peels will be eaten.
2. Remove the ends off both sides of each lemon. Stand the lemon on one end, and make a deep vertical cut three-quarters of the way down, but not cutting all the way through. Turn the lemon a quarter turn and make another cut to the same depth, again not cutting all the way through, so that when you finish this next cut, the lemon will be in quarters but still connected at the base.
3. Cut the lemons and add a good serving of kosher salt inside and on the outside of the lemon. Depending on how many lemons you use, you’ll want to work with about 1 tablespoon of salt for each lemon.
4. Put the lemon in a clean glass jar, pushing it down to get some juice to come out. Do the same with the other lemons, adding them to the jar and pushing them down to get them to release juice and make room for the rest of the lemons, which you’ve not yet pushed down.
5. Between the layers of lemons, you may add optional spices to enhance the flavor. Good choices are a stick of cinnamon, some bay leaves, or whole cloves and black peppercorns.
6. Press the lemons down to get them to release their juice. If the juice you get from the lemons doesn’t completely cover the lemons, then add more fresh lemon juice until they are completely covered.
7. Tighten the lid on the jar and place it at room temperature for a few days. A sunny spot will work best to help soften the peels. Invert the jar a couple of times each day to distribute the salt and juices.
8. The jar can be placed in the refrigerator after a few days have elapsed. For the next 3 to 4 weeks, allow the cabreada to ferment in the refrigerator, shaking it occasionally during that time.
9. When the peels become soft and flexible, the preserved lemons are ready for use. Rind and pulp find their way into many recipes, while the brine, salty and flavorful, is a dressing or marinade waiting to happen.
10. Rinsing the lemons under running water will eliminate most of the salt. It is best to remove the seeds and pulp before using the lemon, but if you want to add some extra texture to your cooking, go ahead and leave it in. For a really bright flavor, though, you can’t beat lemon rind. Chop it finely and stir it into whatever you’re working on for a jolt of citrus goodness.