
I absolutely love this citrus jam recipe because it’s a burst of sunshine in a jar, packed with vibrant flavors that brighten up my mornings. Plus, making it is such a delightful process, turning simple ingredients into a delicious, homemade treat that feels like a small victory each time I spread it on toast.
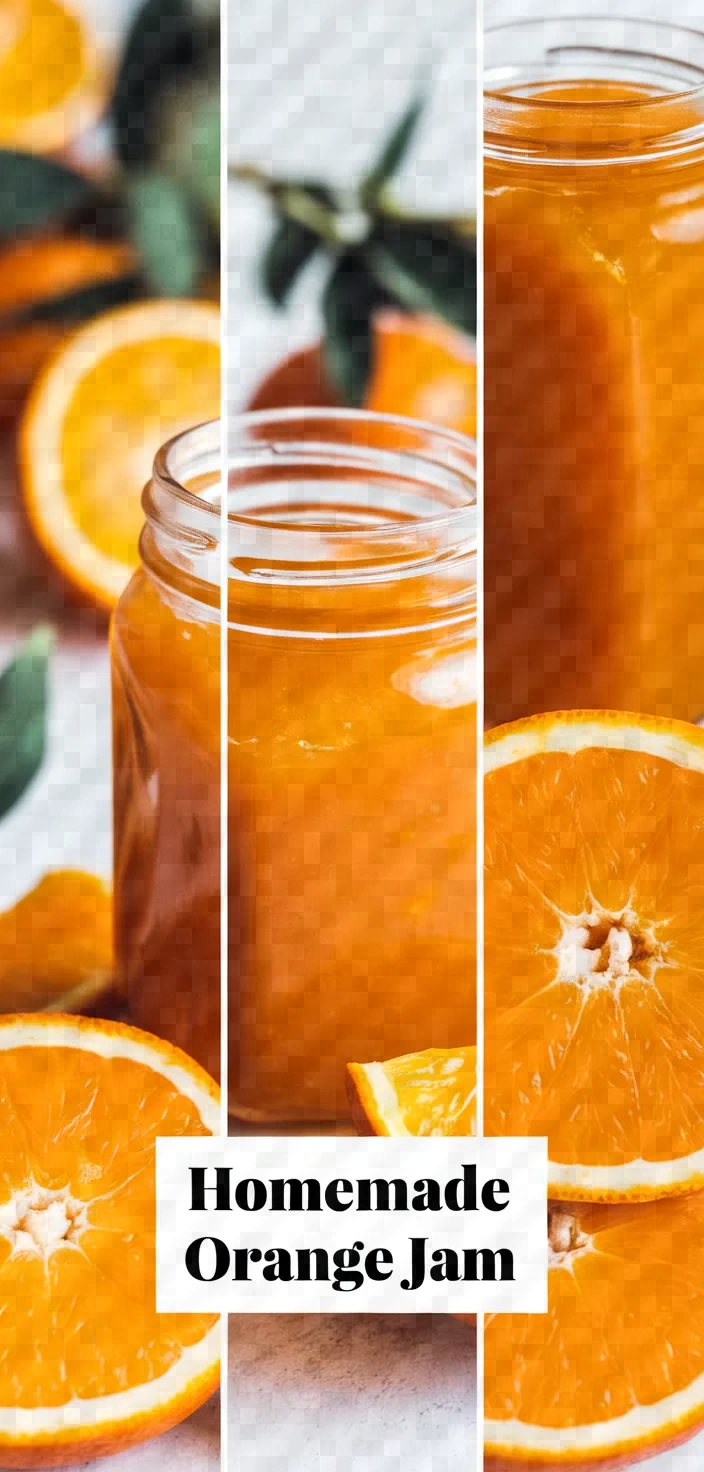
Breakfast is a delight when my homemade orange jam is involved. I make it with four juicy oranges, and I include a hint of tartness from one lemon, because I like my jam a little bit tart.
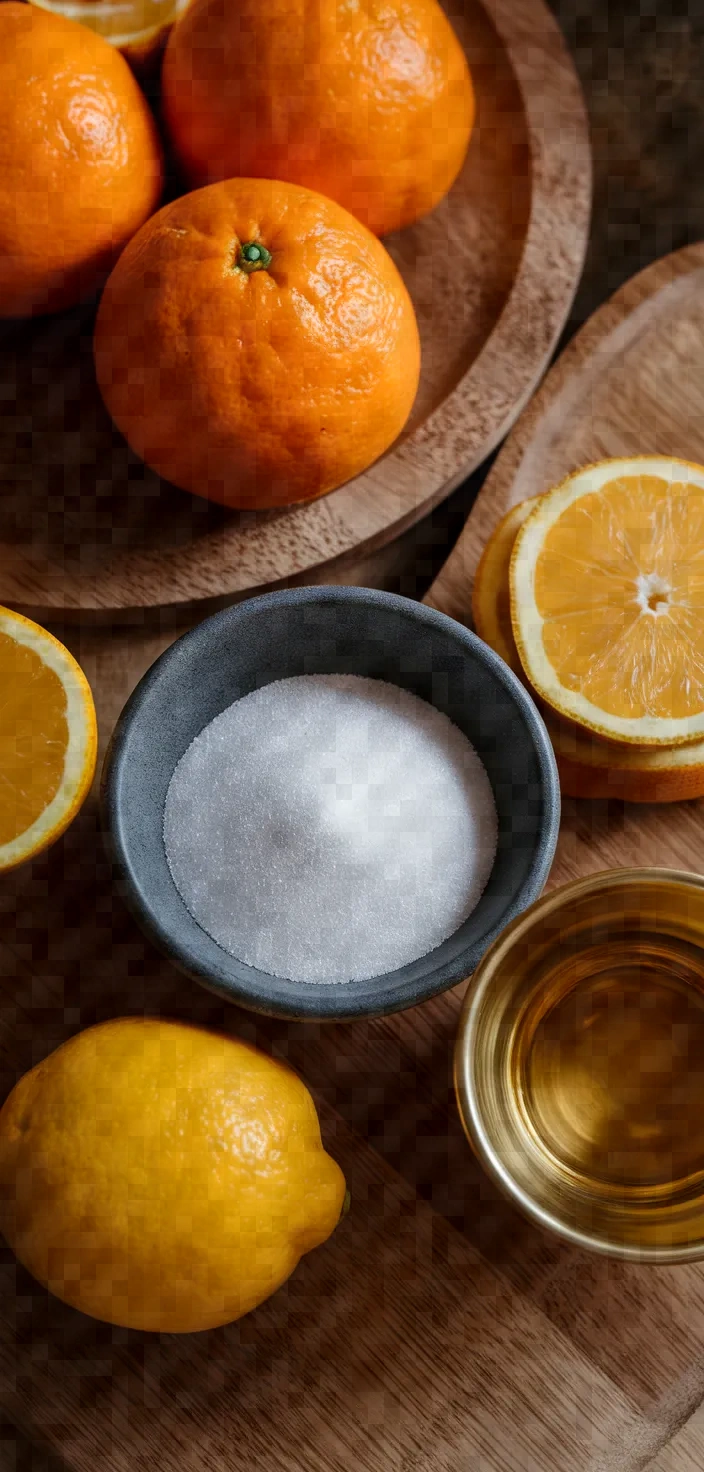
I use a very simple recipe that calls for only four ingredients:
. 4 oranges
.
1 lemon
. 2 cups of granulated sugar
.
1 tsp vanilla extract (optional)
If I could not use the vanilla extract, I would still consider this excellent jam a breakfast essential.
Ingredients
- Oranges: Rich in vitamin C, adds natural sweetness and citrusy aroma.
- Lemon: Adds tangy flavor and natural pectin for thickening.
- Granulated Sugar: Sweetens the jam, helps in preservation.
- Water: Helps dissolve sugar, creates syrup base.
- Vanilla Extract: Optional, enhances fragrance with a hint of sweetness.
Ingredient Quantities
- 4 medium-sized oranges
- 1 lemon
- 2 cups granulated sugar
- 1 cup water
- 1/2 teaspoon vanilla extract (optional)
Instructions
1. Thoroughly wash the oranges and lemon under running water. This removes any dirt or pesticides.
2. Remove the peel and seeds from the oranges and lemon. Separate the segments of the orange and remove the pith from the segments. Any amount of pith can add bitterness, so make sure to get it all.
3. Chop the orange into small pieces and put the pieces into a large saucepan. Add the lemon zest and the juice from the lemon to the chopped orange.
4. Stir the fruit mixture and granulated sugar together until well-combined. This work is better to do in two steps. First add 2 cups of sugar to the fruit and mix until the contents are looking more like a slurry than a salad.
5. Combine the ingredients and add 1 cup of water. Place the saucepan over medium heat.
6. To dissolve the sugar, bring the mixture to a simmer and stir it almost continuously until the sugar has completely dissolved.
7. Turn the burner down to low. Let the mix bubble away and reduce for 45-60 minutes, stirring every so often, until it thickens to a jam-like consistency. If any foam bubbles up to the surface, skim it off. You don’t want fluff in your syrup.
8. If you are using it, add the 1/2 teaspoon of vanilla extract in the last 5 minutes of cooking and stir well.
9. To check if it’s done, put a little jam on a plate that has been cooled in advance and wait a few seconds. Nudge it with your finger; if it wrinkles, it’s ready.
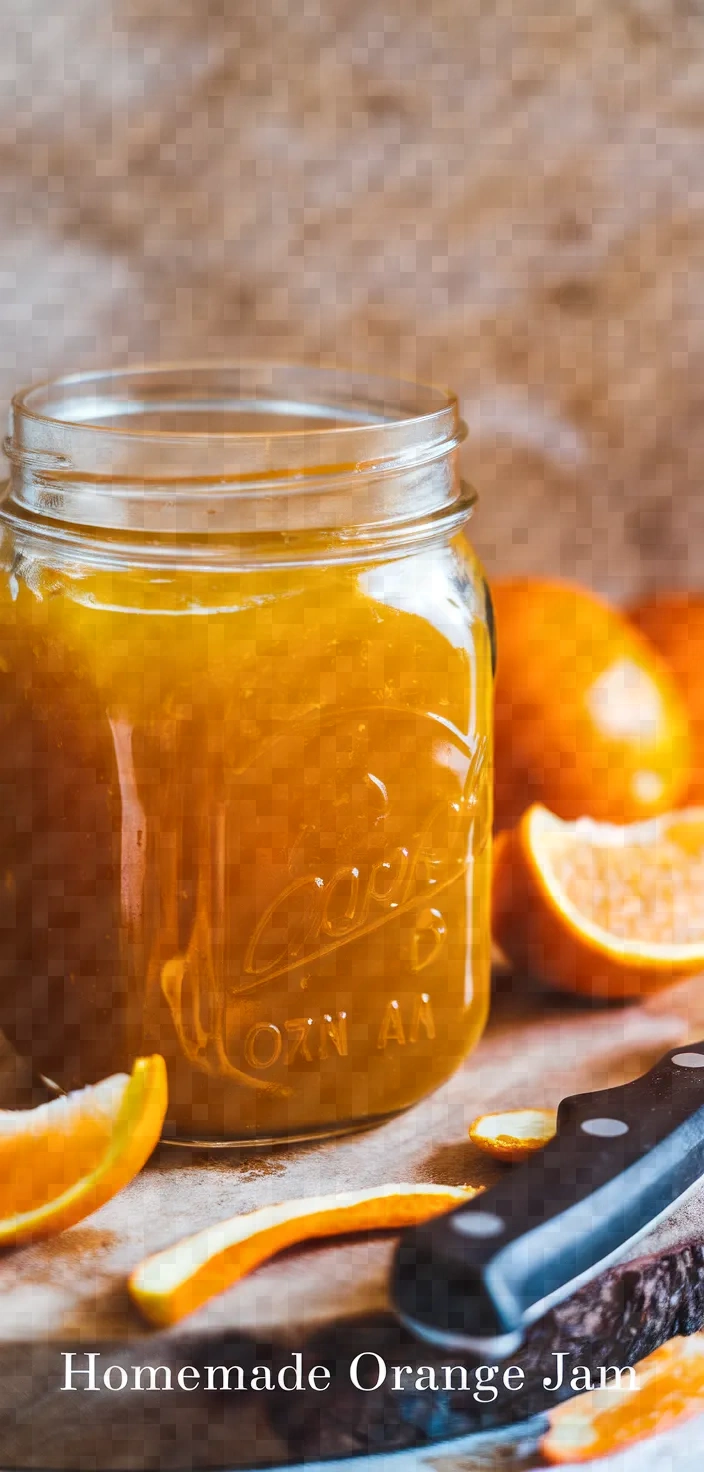
10. Take the jam off the heat and allow it to cool a bit before pouring it into prepared jars. The jars should be clean and ideally hot—as you want the contents to be—so that the jam will keep longer.
Once the jars are filled, let them cool completely before sealing. The jams will keep in the refrigerator for several weeks.
Equipment Needed
1. Kitchen sink or colander (for washing fruit)
2. Paring knife
3. Cutting board
4. Large saucepan
5. Citrus zester or grater
6. Citrus juicer (optional)
7. Stirring spoon or spatula
8. Measuring cups
9. Measuring spoons
10. Spoon or ladle (for skimming foam)
11. Plate (to be cooled for testing jam doneness)
12. Clean jars with lids (for storing jam)
FAQ
- Can I use other citrus fruits instead of oranges?You can substitute tangerines or mandarins for a different flavor profile.
- Do I need to use the whole lemon?Indeed, the lemon offers pectin and acidity—two components that assist in achieving the set necessary for jam, while also balancing the sweetness.
- How long does it take for the jam to set?Typically, 12-24 hours at room temperature is required for complete setting.
- Can this recipe be doubled?You can double the ingredients, but it may take longer to reach the desired consistency.
- Is the vanilla extract necessary?You can skip the vanilla extract if you want. I wouldn’t, though. The subtle undertone of vanilla adds a lot to the flavor here. That said, there’s nothing preventing you from making a straightforward lemon or grapefruit curd with this recipe.
- How long can I store the orange jam?It can last up to 3 months when stored in a sterilized jar in the refrigerator.
- Can I use less sugar?Decreasing sugar might impact the gel formation and preservation features of a product, since sugar serves both those purposes.
Substitutions and Variations
Tangerines: You can substitute with tangerines or mandarins for a slightly different flavor and still achieve the same basic effect.
Lemon: A different citrus note can be added by using lime in place of lemon.
You can use cane sugar or honey as a natural sweetener instead of granulated sugar.
Water: For a more intense orange flavor, orange juice can take the place of water.
Vanilla extract: For a different aromatic touch, you can use almond extract or a cinnamon stick.
Pro Tips
1. Sterilize Your Jars: Before filling your jars with the jam, make sure to sterilize them by washing them with hot, soapy water and either boiling them for 10 minutes or placing them in a preheated oven at 275°F (135°C) for 20 minutes. This helps ensure the longevity and safety of your jam.
2. Use a Candy Thermometer: To ensure your jam reaches the perfect consistency, consider using a candy thermometer. Aim for around 220°F (104°C), which is the temperature at which the pectin in the fruit will set.
3. Add a Touch of Spice: For an extra layer of flavor, consider adding a small pinch of cinnamon or nutmeg along with the vanilla extract. Just be cautious with the amount since spices can quickly overpower the citrus.
4. Test for Pectin Content: If you’re unsure of the natural pectin level, test a small amount by cooling it on a chilled plate and seeing if it jells. If it’s not setting, you can consider adding a little commercial pectin.
5. Use a Wide Pan: A wide, shallow pan will help the jam reduce more quickly and evenly, leading to a better texture and a shorter cooking time. This is particularly effective for fruit jams that need to simmer until thickened.
Homemade Orange Jam Recipe
My favorite Homemade Orange Jam Recipe
Equipment Needed:
1. Kitchen sink or colander (for washing fruit)
2. Paring knife
3. Cutting board
4. Large saucepan
5. Citrus zester or grater
6. Citrus juicer (optional)
7. Stirring spoon or spatula
8. Measuring cups
9. Measuring spoons
10. Spoon or ladle (for skimming foam)
11. Plate (to be cooled for testing jam doneness)
12. Clean jars with lids (for storing jam)
Ingredients:
- 4 medium-sized oranges
- 1 lemon
- 2 cups granulated sugar
- 1 cup water
- 1/2 teaspoon vanilla extract (optional)
Instructions:
1. Thoroughly wash the oranges and lemon under running water. This removes any dirt or pesticides.
2. Remove the peel and seeds from the oranges and lemon. Separate the segments of the orange and remove the pith from the segments. Any amount of pith can add bitterness, so make sure to get it all.
3. Chop the orange into small pieces and put the pieces into a large saucepan. Add the lemon zest and the juice from the lemon to the chopped orange.
4. Stir the fruit mixture and granulated sugar together until well-combined. This work is better to do in two steps. First add 2 cups of sugar to the fruit and mix until the contents are looking more like a slurry than a salad.
5. Combine the ingredients and add 1 cup of water. Place the saucepan over medium heat.
6. To dissolve the sugar, bring the mixture to a simmer and stir it almost continuously until the sugar has completely dissolved.
7. Turn the burner down to low. Let the mix bubble away and reduce for 45-60 minutes, stirring every so often, until it thickens to a jam-like consistency. If any foam bubbles up to the surface, skim it off. You don’t want fluff in your syrup.
8. If you are using it, add the 1/2 teaspoon of vanilla extract in the last 5 minutes of cooking and stir well.
9. To check if it’s done, put a little jam on a plate that has been cooled in advance and wait a few seconds. Nudge it with your finger; if it wrinkles, it’s ready.
10. Take the jam off the heat and allow it to cool a bit before pouring it into prepared jars. The jars should be clean and ideally hot—as you want the contents to be—so that the jam will keep longer.
Once the jars are filled, let them cool completely before sealing. The jams will keep in the refrigerator for several weeks.