
Ever thought about transforming a simple quart of milk into a creamy, dreamy yogurt wonder right in your kitchen? Let’s take this magical journey together and turn those humble ingredients into a delicious, homemade treat that’ll have you questioning those store-bought versions! 🥄✨

I adore crafting yogurt in my home kitchen, as it yields such a wonderfully creamy, fresh product replete with probiotics from the whole milk and the bit of plain yogurt with active cultures that I use to seed it. Sometimes I add instant dry milk to the mix; it thickens the yogurt beautifully and boosts both the calcium content and the nutritional profile of the final product.
Homemade Yogurt Recipe Ingredients
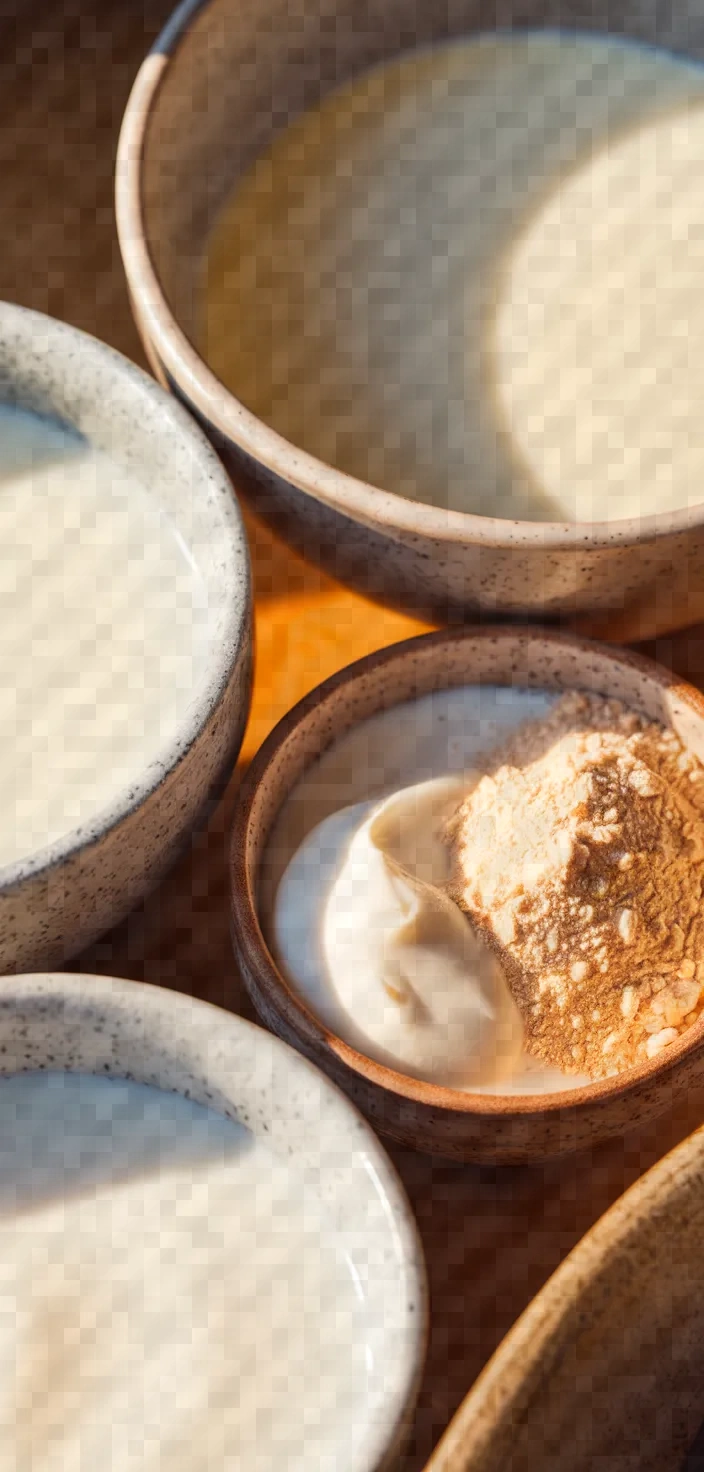
- Whole Milk: Rich in protein and calcium, contributes creamy texture.
- Plain Yogurt: Contains probiotics, fosters beneficial gut bacteria.
- Instant Dry Milk: Adds protein, enhances creaminess, thickens the yogurt.
Homemade Yogurt Recipe Ingredient Quantities
- 4 cups (1 quart) whole milk
- 2 tablespoons plain yogurt with active cultures (for starter)
- Optional: 1-2 tablespoons instant dry milk (for thicker yogurt)
How to Make this Homemade Yogurt Recipe
1. Place 4 cups of whole milk in a saucepan and set it over a medium flame. Stir the milk occasionally as it heats, and watch for the first signs of steaming. When it’s steaming (but not boiling), check the temperature. You want it to be between 180 and 190°F (82 and 88°C). This should take about 15 minutes, give or take. If the milk reaches 200°F (93°C), it won’t hurt anything, but it could affect the thickness of the yogurt.
2. After the milk has been heated to 180°F, take it off the heat source and allow it to cool to approximately 110°F (43°C). To expedite this process, you may place the saucepan in a cold water bath. Stir gently while the saucepan is in the bath to ensure even cooling.
3. To use this step, if chosen, dissolve 1-2 tablespoons of instant dry milk into the warm milk. Again, this step is optional but helps in making a thicker yogurt.
4. Place 2 tablespoons of plain yogurt with active cultures in a small bowl. Gradually blend in a few tablespoons of the cooled milk, and mix until smooth.
5. Once combined, blend this yogurt-milk mixture into the remainder of the cooled milk. Stir well and long enough to ensure the mixture is uniform and the starter is evenly distributed.
6. Pour the milk into tidy glass jars or bowls and cover with a lid (or cloth)—anything will do, as long as it allows the cultures to breathe and keeps the milk safe from the dust and other particles that can float around in the average home.
7. Maintain the jars in a warm location, between 100°F to 110°F (37°C to 43°C), for about 4 to 12 hours. Incubation can take as long as 12 hours, and the longer it does take, the more tart the yogurt will become.
8. When yogurt is set, it should have the appearance of being firm and not going anywhere when you move it. Now’s the time to throw it in the fridge for a few hours. This accomplishes two things: it stops the culturing process so that your yogurt doesn’t keep getting tangier and tangier, and it helps thicken the yogurt.
9. Chilling makes the yogurt ready to eat. If you like a smooth, less textured yogurt, stir it before scooping some into a bowl.
10. Relish your yogurt made in your kitchen, either plain or with fruits and sweeteners you love. Savor its freshness, interact with its smooth or pasty texture, and enjoy its tangy flavor. For your next batch, save a couple of tablespoons to use as a starter.
Homemade Yogurt Recipe Equipment Needed
1. Saucepan
2. Spoon (for stirring)
3. Thermometer
4. Bowl (small, for mixing starter yogurt)
5. Measuring spoons
6. Glass jars or bowls with lids or cloth covers
7. Whisk or spatula (for mixing yogurt starter)
8. Large bowl (for cold water bath)
9. Refrigerator
FAQ
- What type of milk is best for making homemade yogurt?For the creamiest texture, whole milk is suggested; however, low-fat or skim milk can also be used, even if the end results are bound to be thinner. To counteract that potential problem, instant dry milk can be added.
- Why is it important to use yogurt with active cultures?To ferment the milk and turn it into yogurt takes active cultures. When you buy yogurt at the store, check the label to be sure it lists live and active cultures.
- How do I maintain the temperature during fermentation?Maintain the yogurt mixture at a consistent temperature of 110°F to 115°F. You can achieve this using a yogurt maker, a warmed oven (with the light on), or a thermal container.
- How long should I ferment the yogurt?Usually, the yogurt will ferment for 6-12 hours. The longer it ferments, the more pronounced the tangy flavor will be. Check it at 6 hours, and then continue checking it until you arrive at the desired taste. Tangier or not, any yogurt can serve as a base food for a wide range of healthy snacks.
- Can I flavor the yogurt during the fermentation process?After fermentation is the best time to add flavors or sweeteners. You can stir in honey, fruit, or vanilla to add flavor once the yogurt has set.
- How can I make thicker yogurt?After fermenting, straining the yogurt through cheesecloth will remove excess whey and leave thick yogurt. This is the only way to achieve the desired thickness if you are using milk and starter cultures alone. Alternatively, if your setup is not conducive to screen cheese, you can add 1 to 2 tablespoons of instant dry milk to the initial milk mixture before fermentation.
- How long does homemade yogurt last?Yogurt made at home can last in the fridge for two weeks. When retrieving yogurt from the container, always use a clean utensil, for the sake of both you and the yogurt, to keep it uncontaminated.
Homemade Yogurt Recipe Substitutions and Variations
You can use 2% milk for a lighter yogurt instead of whole milk, or for a vegan option, use non-dairy milk such as almond milk.
Using a different brand of yogurt or a probiotic capsule for the plain yogurt starter doesn’t require making any changes to the step-by-step procedure. Your different choice of starter may yield slightly different results, but the overall structure of the recipe remains untouched.
To obtain a thicker yogurt without adding instant dry milk, strain the yogurt through cheesecloth after it has set.
Pro Tips
1. Consistent Heating For consistent heating, use a heavy-bottomed saucepan to avoid scorching the milk. Stir gently but continuously as the milk approaches the target temperature to ensure even heating.
2. Test Incubation Environment Before starting the batch, test different spots in your home to find the best place for yogurt incubation. Ideal places often include the oven with only the light on, a turned-off slow cooker, or a warm area in your kitchen.
3. Pre-Warm Containers To maintain incubation temperature more effectively, pre-warm your glass jars or bowls by rinsing them with hot water before pouring in the milk-yogurt mixture. This helps the cultures to grow consistently.
4. Optimize Texture Adjust the thickness by experimenting with different amounts of instant dry milk or by straining the yogurt after refrigeration to make Greek-style yogurt. Strain through a muslin cloth or coffee filter to your preferred consistency.
5. Flavor Control Start tasting the yogurt after the first 4 hours of incubation to control the tanginess. Once it reaches your desired tartness, refrigerate immediately to stop the culturing process.
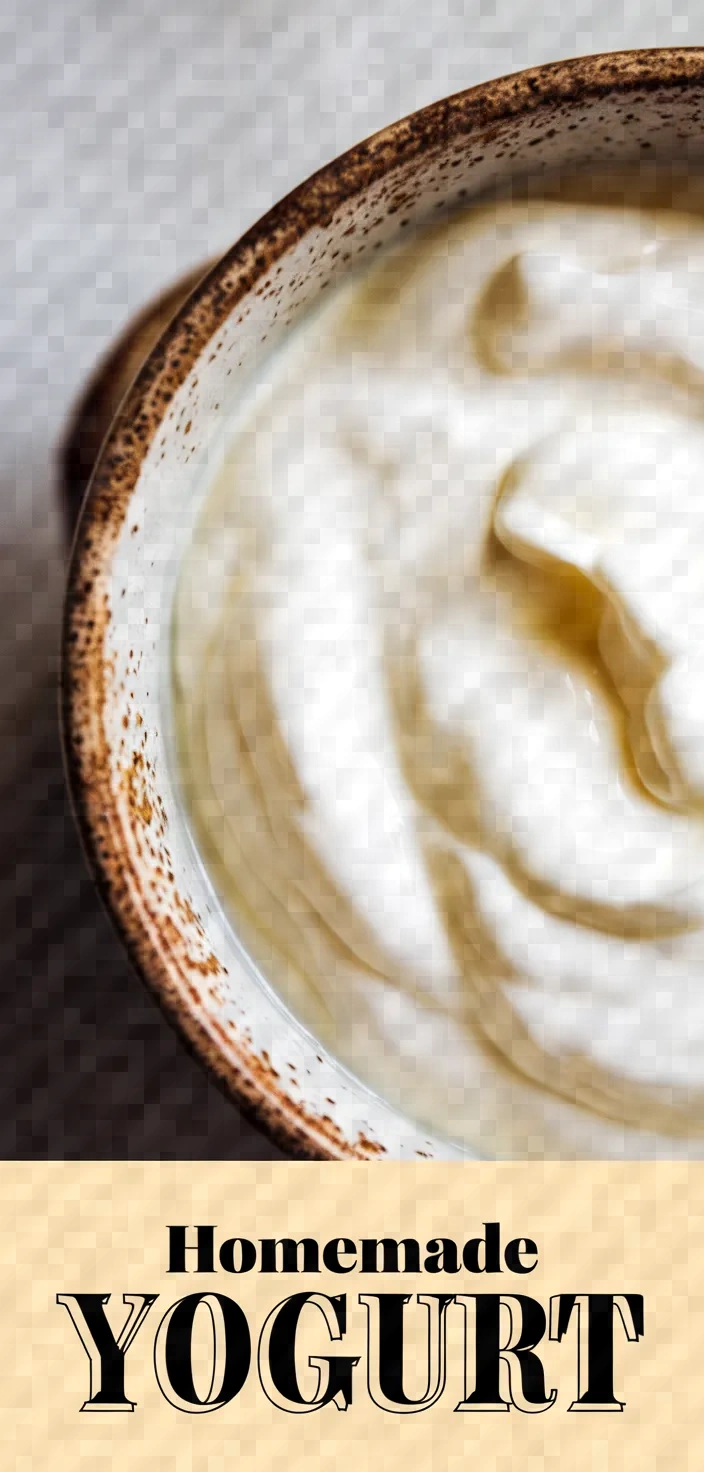
Homemade Yogurt Recipe
My favorite Homemade Yogurt Recipe
Equipment Needed:
1. Saucepan
2. Spoon (for stirring)
3. Thermometer
4. Bowl (small, for mixing starter yogurt)
5. Measuring spoons
6. Glass jars or bowls with lids or cloth covers
7. Whisk or spatula (for mixing yogurt starter)
8. Large bowl (for cold water bath)
9. Refrigerator
Ingredients:
- 4 cups (1 quart) whole milk
- 2 tablespoons plain yogurt with active cultures (for starter)
- Optional: 1-2 tablespoons instant dry milk (for thicker yogurt)
Instructions:
1. Place 4 cups of whole milk in a saucepan and set it over a medium flame. Stir the milk occasionally as it heats, and watch for the first signs of steaming. When it’s steaming (but not boiling), check the temperature. You want it to be between 180 and 190°F (82 and 88°C). This should take about 15 minutes, give or take. If the milk reaches 200°F (93°C), it won’t hurt anything, but it could affect the thickness of the yogurt.
2. After the milk has been heated to 180°F, take it off the heat source and allow it to cool to approximately 110°F (43°C). To expedite this process, you may place the saucepan in a cold water bath. Stir gently while the saucepan is in the bath to ensure even cooling.
3. To use this step, if chosen, dissolve 1-2 tablespoons of instant dry milk into the warm milk. Again, this step is optional but helps in making a thicker yogurt.
4. Place 2 tablespoons of plain yogurt with active cultures in a small bowl. Gradually blend in a few tablespoons of the cooled milk, and mix until smooth.
5. Once combined, blend this yogurt-milk mixture into the remainder of the cooled milk. Stir well and long enough to ensure the mixture is uniform and the starter is evenly distributed.
6. Pour the milk into tidy glass jars or bowls and cover with a lid (or cloth)—anything will do, as long as it allows the cultures to breathe and keeps the milk safe from the dust and other particles that can float around in the average home.
7. Maintain the jars in a warm location, between 100°F to 110°F (37°C to 43°C), for about 4 to 12 hours. Incubation can take as long as 12 hours, and the longer it does take, the more tart the yogurt will become.
8. When yogurt is set, it should have the appearance of being firm and not going anywhere when you move it. Now’s the time to throw it in the fridge for a few hours. This accomplishes two things: it stops the culturing process so that your yogurt doesn’t keep getting tangier and tangier, and it helps thicken the yogurt.
9. Chilling makes the yogurt ready to eat. If you like a smooth, less textured yogurt, stir it before scooping some into a bowl.
10. Relish your yogurt made in your kitchen, either plain or with fruits and sweeteners you love. Savor its freshness, interact with its smooth or pasty texture, and enjoy its tangy flavor. For your next batch, save a couple of tablespoons to use as a starter.