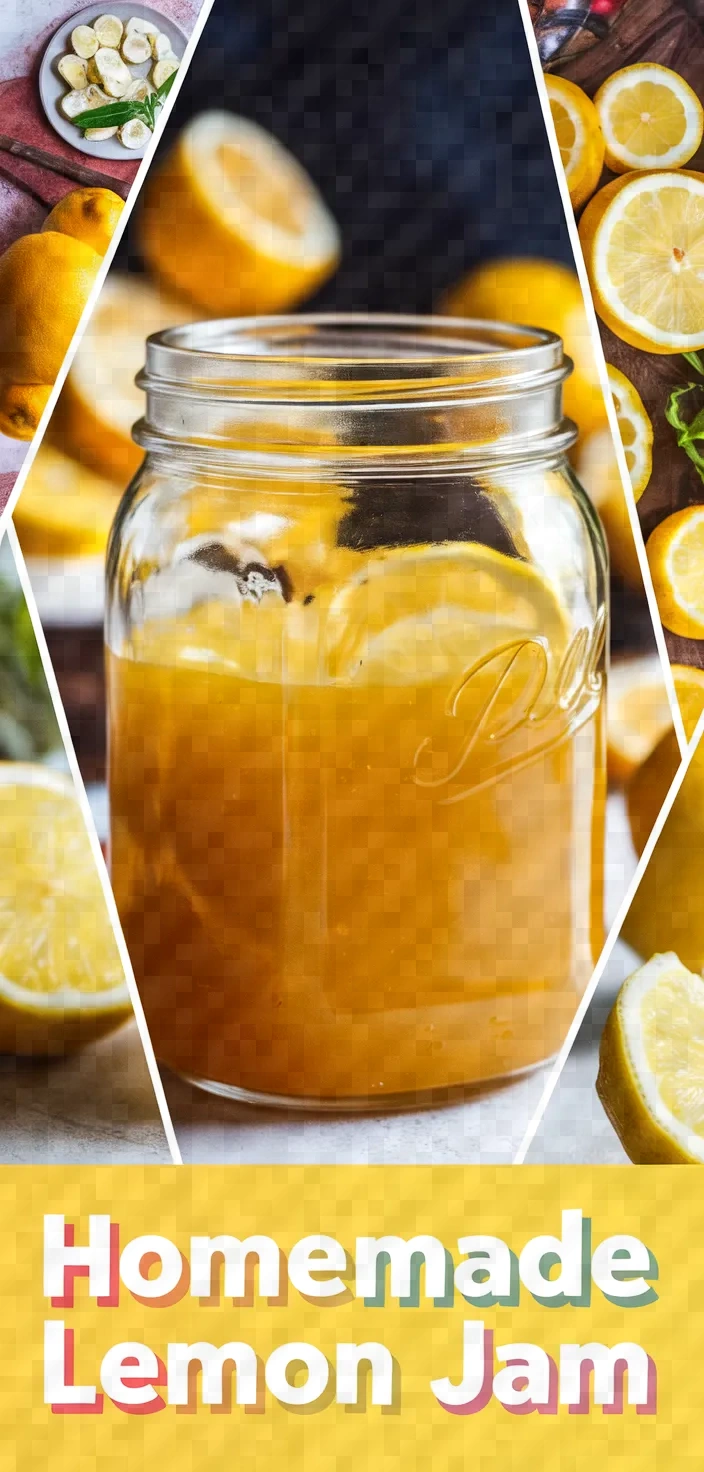
There’s something incredibly satisfying about transforming a handful of lemons into luscious, golden lemon jam that makes me feel like I’m bottling up sunshine in a jar—let’s dive into this zesty cooking adventure! 🍋✨
Lemons are a vivid source of vitamin C, and I love to make a lively lemon preserves that can be used in desserts, for breakfast, or in appetizers. America is flooded with recipes for lemon marmalade, lemon curd, and lemon jelly, and that’s a good thing—any of those recipes can easily be transformed into a lemon jam recipe.
Homemade Lemon Jam Recipe Ingredients
- Lemons: High in vitamin C; adds tartness and zest.
- Granulated Sugar: Sweetens the jam; provides structure.
- Water: Helps dissolve sugar; balances texture.
- Pinch of Salt: Enhances flavors; balances sweetness.
Homemade Lemon Jam Recipe Ingredient Quantities
- 4 medium-sized lemons
- 2 cups granulated sugar
- 1 1/2 cups water
- Pinch of salt
How to Make this Homemade Lemon Jam Recipe
1. Clean the lemons well and then use a vegetable peeler to remove the skin. Try to get as little of the white pith as possible.
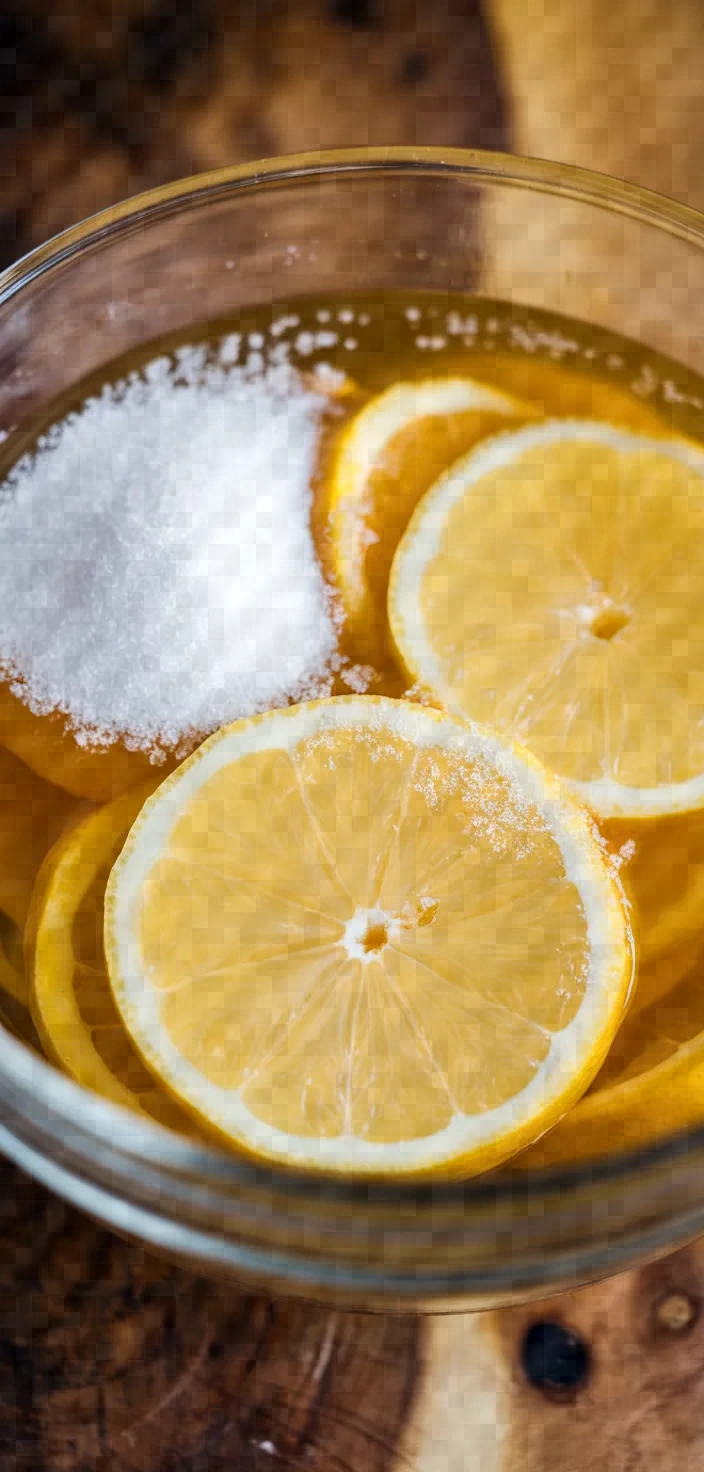
2. Halve the lemons that you have peeled and take out the seeds. Cut the halves into thin slices and put them to the side.
3. Put the lemon peels in a small saucepan, cover with water, and bring to a boil. Let it simmer for 5 minutes. Drain and repeat once more to remove bitterness.
4. In a bigger saucepan, mix together the cut-up lemons, the blanched peels, 1 1/2 cups of water, and a little salt.
5. Over medium heat, gently bring the mixture to a boil and then let it boil for 10 minutes. By this time, the lemon slices should be fairly tender.
6. Combine the sugar and water in a heavy saucepan, and bring to a boil over moderate heat. Stir in the sugar until it is completely dissolved, and return to a simmer. Lower the heat and cook gently, stirring occasionally, for about 30-40 minutes.
7. To see if the jam has reached the setting point, take a small spoonful and place it on a plate that has been chilled in the freezer. From here, you check the jam’s consistency and readiness much like you would with a pudding, gel, or custard. Insiders’ Tip: If you can, chill the plate for a few hours beforehand; the colder it is, the more noticeable the difference in texture will be when the jam first hits its setting point during the cooking process.
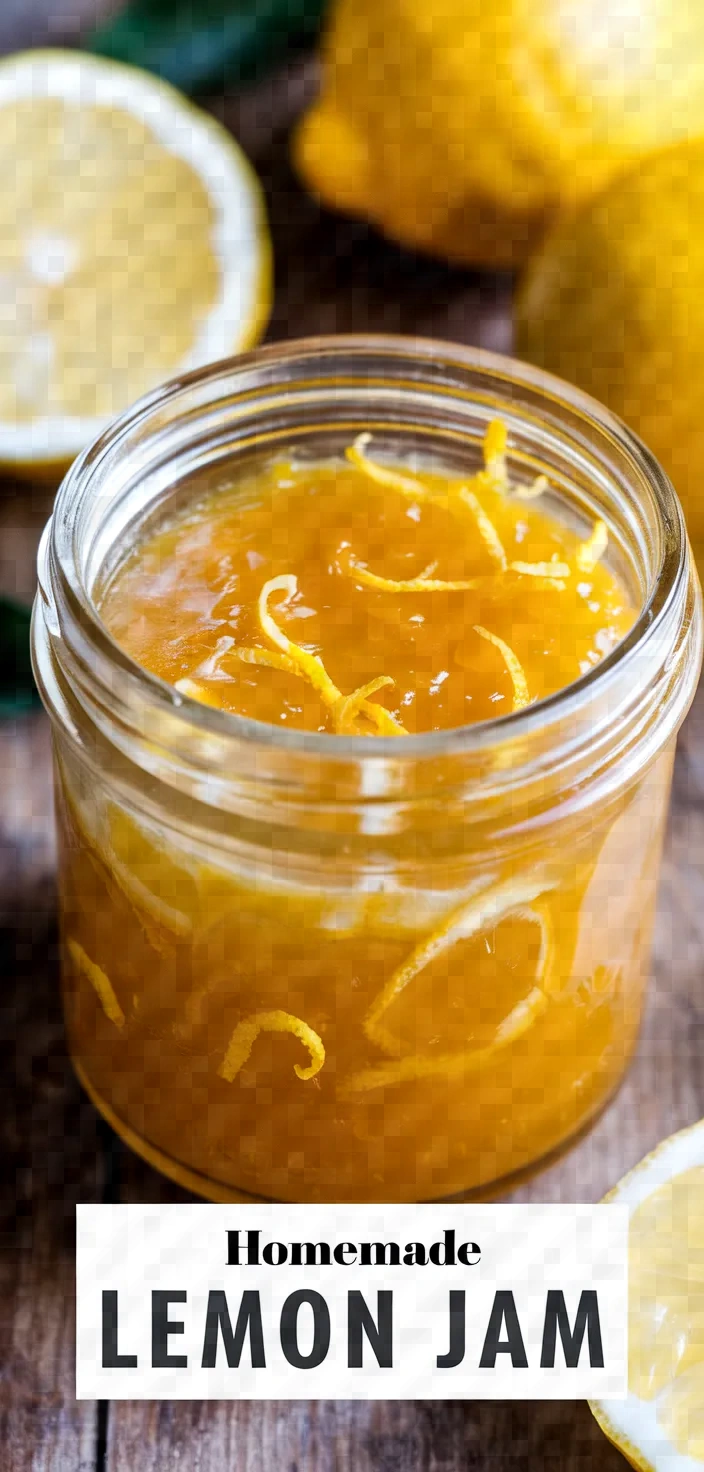
8. Take the jam off the heat and allow it to settle for several minutes. Skim off any foam that might appear on the surface.
9. Ladle the hot lemon jam into sterilized jars, leaving a small space at the top. Be careful!
10. While the jam is sizzling hot, cap the jars with their lids. Allow them to reach room temperature before stowing them in a dark, chilly location. Then, get a loaf of good bread, toast it, and slather on your newfound jam.
Homemade Lemon Jam Recipe Equipment Needed
1. Vegetable peeler
2. Knife
3. Cutting board
4. Small saucepan
5. Larger saucepan
6. Spoon
7. Ladle
8. Plates (one chilled in the freezer)
9. Sterilized jars with lids
FAQ
- What type of lemons should I use for this jam?Any lemons of medium size will work, but organic lemons are preferred since we are using the peel.
- Can I reduce the sugar in this recipe?It is not advised because the sugar helps maintain the jam’s quality and gives it the perfect feel.
- How should I prepare the lemons?Clean them well, take out the seeds, and cut them up small with the skin left on.
- How long does this lemon jam last?Keep in sterilized jars in the refrigerator, it should last up to a month.
- Can I add other flavors?Indeed, incorporating spices such as ginger or herbs like mint can intensify the taste.
- Is it necessary to add salt?A tiny bit of salt takes the sweetness down a notch and draws out the lemon flavor.
- How do I know the jam is ready?It should become thicker and gel-like when it cools; a thin layer should remain on the back of a spoon when done.
Homemade Lemon Jam Recipe Substitutions and Variations
If you want a different citrus flavor, substitute limes or oranges for the lemons.
To replace the granulated sugar: Use the same amount of honey or agave syrup, and remember this may change the texture of what you are making.
For fruit: Use the same amount of unsweetened apple juice. This will give your dish a hint of fruity sweetness.
For the pinch of salt: Leave it out if you’d like, or replace it with a pinch of sea salt for a somewhat different flavor.
Pro Tips
1. Maximize Lemon Flavor Before peeling the lemons, roll them firmly on a cutting board with your palm to release more of the juices and essential oils. This will enhance the lemon flavor in your jam.
2. Use a Fine Grater Instead of a vegetable peeler, you can use a microplane zester to remove the lemon zest. This method minimizes the amount of bitter white pith and maximizes the aromatic oils.
3. Add Pectin for Thickness If your jam isn’t setting as desired, you can add a small amount of commercial pectin. Follow the package instructions, especially if you prefer a firmer consistency.
4. Infuse with Flavor Consider adding a few sprigs of fresh thyme or a piece of vanilla bean to the jam mixture while it cooks for an extra layer of flavor. Remove these before jarring the jam.
5. Sterilize Jars Properly Ensure that the glass jars and their lids are properly sterilized by running them through a dishwasher cycle or boiling them in water to prevent contamination and extend the jam’s shelf life.
Homemade Lemon Jam Recipe
My favorite Homemade Lemon Jam Recipe
Equipment Needed:
1. Vegetable peeler
2. Knife
3. Cutting board
4. Small saucepan
5. Larger saucepan
6. Spoon
7. Ladle
8. Plates (one chilled in the freezer)
9. Sterilized jars with lids
Ingredients:
- 4 medium-sized lemons
- 2 cups granulated sugar
- 1 1/2 cups water
- Pinch of salt
Instructions:
1. Clean the lemons well and then use a vegetable peeler to remove the skin. Try to get as little of the white pith as possible.
2. Halve the lemons that you have peeled and take out the seeds. Cut the halves into thin slices and put them to the side.
3. Put the lemon peels in a small saucepan, cover with water, and bring to a boil. Let it simmer for 5 minutes. Drain and repeat once more to remove bitterness.
4. In a bigger saucepan, mix together the cut-up lemons, the blanched peels, 1 1/2 cups of water, and a little salt.
5. Over medium heat, gently bring the mixture to a boil and then let it boil for 10 minutes. By this time, the lemon slices should be fairly tender.
6. Combine the sugar and water in a heavy saucepan, and bring to a boil over moderate heat. Stir in the sugar until it is completely dissolved, and return to a simmer. Lower the heat and cook gently, stirring occasionally, for about 30-40 minutes.
7. To see if the jam has reached the setting point, take a small spoonful and place it on a plate that has been chilled in the freezer. From here, you check the jam’s consistency and readiness much like you would with a pudding, gel, or custard. Insiders’ Tip: If you can, chill the plate for a few hours beforehand; the colder it is, the more noticeable the difference in texture will be when the jam first hits its setting point during the cooking process.
8. Take the jam off the heat and allow it to settle for several minutes. Skim off any foam that might appear on the surface.
9. Ladle the hot lemon jam into sterilized jars, leaving a small space at the top. Be careful!
10. While the jam is sizzling hot, cap the jars with their lids. Allow them to reach room temperature before stowing them in a dark, chilly location. Then, get a loaf of good bread, toast it, and slather on your newfound jam.